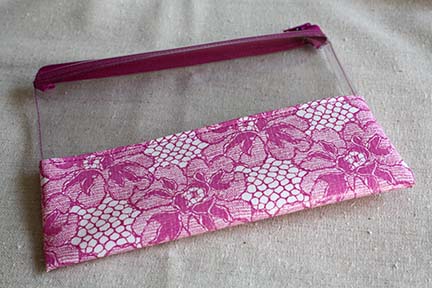
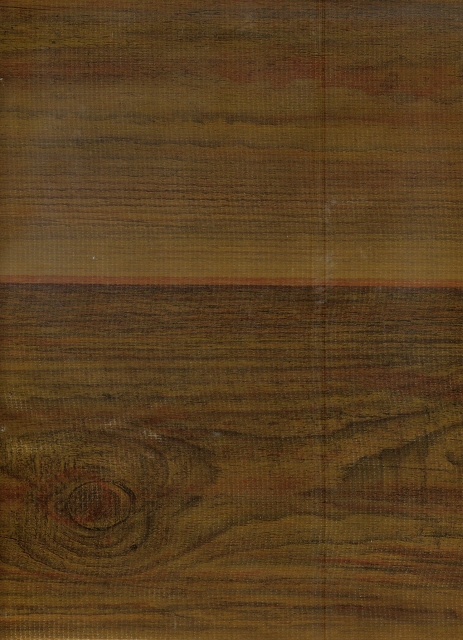
I’ve had this fun little project in my sketchbook for a couple of months. I wanted a way to use some clear vinyl and some smaller oilcloth scraps that I had hanging around. I loved the idea of using both to make a cute little storage bag. I also loved that the oilcloth would add some color and the clear vinyl would let me see right inside the bag. These would make great gifts for teachers, party favor bags, cosmetic bags for friends, on-the-go sewing kit, and so many other uses! (I’m thinking that for Father’s Day my dad might get a travel toiletry pouch with some of this awesome wood-grain oilcloth from CityCraft!)
Well, let’s get started, shall we?
You’ll need:
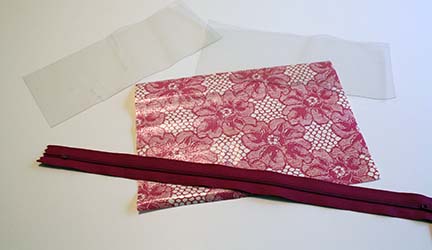
1 – 12″ or longer zipper
1 – 6″ x 8 1/2″ piece of Oilcloth fabric
2 – 3 1/2″ x 8 1/2″ pieces of clear vinyl (I used the 12 gauge vinyl. Not to thin and not too thick.)
Coordinating Thread
*Use a 1/4″ seam for all seams unless I let you know otherwise.
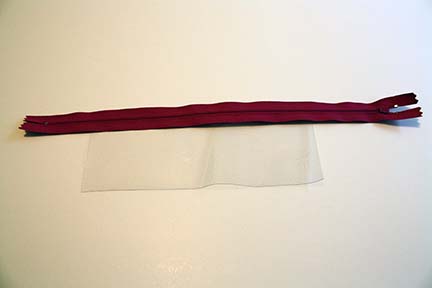
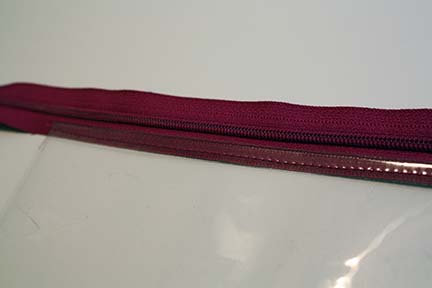
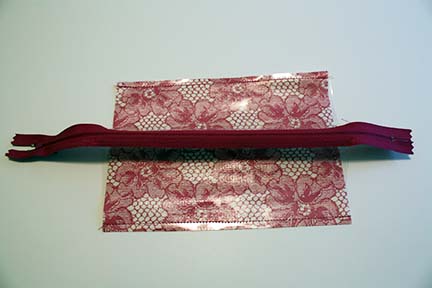
Place your zipper facing down on one long side of the clear vinyl. Stitch about 1/4″ down the edge of the zipper to attach it to the top of your vinyl.
Fold the zipper up and top stitch 1/8″ down the seam. It should lie flat after this. Repeat the process with your other piece of vinyl and the other edge of your zipper.
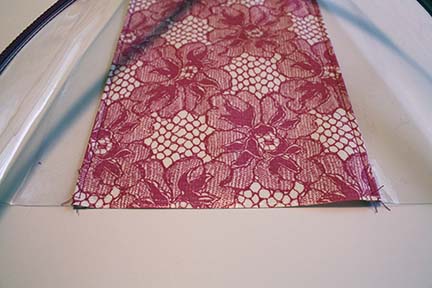
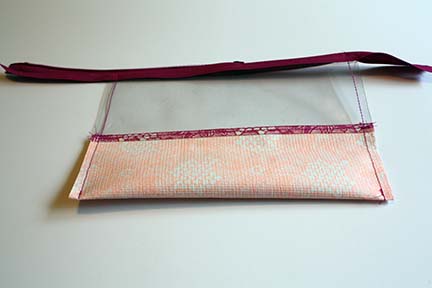
Place your oilcloth piece right sides up facing your clear vinyl piece. (The right side of the zipper should be facing down, touching the oilcloth.) Attach both long edges with a 1/4″ seam.
Turn right sides out, finger press the seam you just stitched down, towards the oilcloth. Top stitch 1/8″ seam on the oilcloth to hold this seam down and help it lie flat.
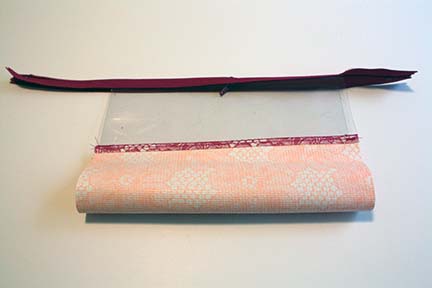
Turn inside out one more time, unzip your zipper halfway, line up the sides with the zipper along the top. (Don’t forget to unzip your zipper halfway! Otherwise you’ll end up with a bag that’s stuck inside out after this step!)
Stitch the sides 1/4″ remembering to back stitch at both ends. Clip off your extra zipper, turn right sides out. You’re done!
Happy Sewing,
Erin
What kind of needle and thread is required for this type of material? I’ve never worked with it. Thanks!
Good questions! You can use regular 100% polyester or Dual-Duty/All Purpose thread for this. The key is to adjust your stitch length so it’s a bit longer. It should be around 2.6 – 3 on most sewing machines. As far as the needle, I generally use a size 14 needle.
I found this helpful. I simplified the process a bit by starting with preambled bag. I bought a box at:
http://www.bagsonthenet.com/Vinyl-Bags-Prodlist.html
and then finished by adding my own fabric. I cut down on time, and had made enough to sell out at the last retail show I did. I plan on doing a mix next time to have a custom size, and then also buying more bags to have more variety. Good article. Happy Sewing.