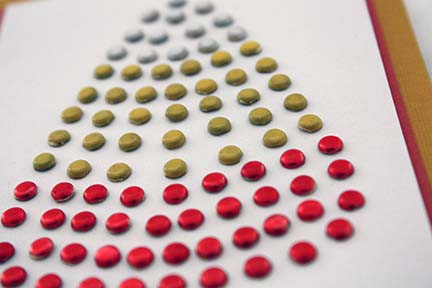
I saw candy corn at the store this weekend and was reminded of how cute those little things are, plus they are just so delicious! I knew I had to do something with a candy corn shape on it so we’ll be making this card today:
In case you were wondering, yes, those are ALL brads!
But don’t worry I’ve made things easy for you! Here’s the layout I did in Illustrator! Just print it here and you’re ready to go!
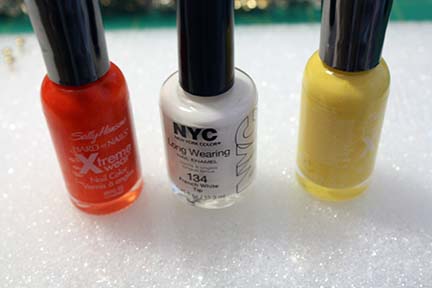
I have lots of brads, and for some reason I had a TON of brass colored brads, which is weird because I think it’s safe to say I NEVER use brass colored brads on my projects! I wondered if I could maybe, just maybe, make them any color I wanted. Copic markers didn’t work too well, but you know what did?
How about some 99¢ nail polish! It worked fantastic! And for some reason the cheap nail polish comes in some great colors, including candy corn colors! Let’s paint!
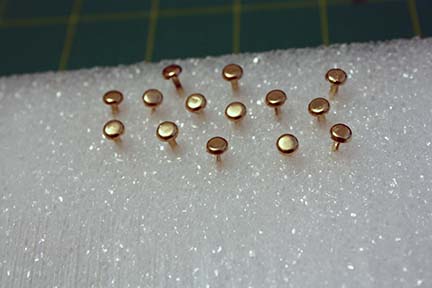
The easiest way I found to paint those little brads was to put them all into a block of craft foam. (You don’t even have to unwrap the block from it’s plastic wrap. Why have foam pieces all over the place if you don’t have to?)
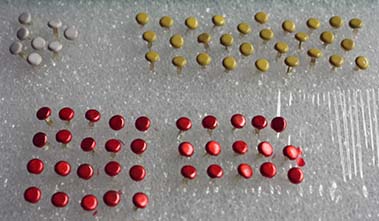
Aren’t they cute all lined up waiting to dry? Imagine all the colors you could make those little brass brads! (I’ll be on the lookout now for brads in not so popular colors on clearance!)
While it’s drying, print your candy corn template and use this paper piercing tool:
I promise this paper piercer will make your job a whole lot easier! I also use it to set my brads. (I’ll show you how in a sec!)
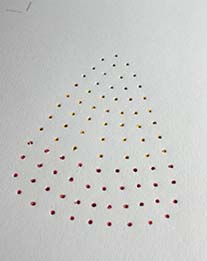
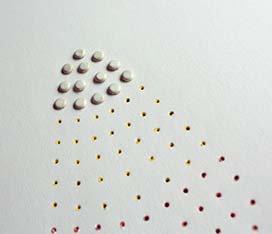
Poke holes in your template directly on top of your little colored circles and add your brads. (I set my template on top of the foam so it was easy to punch the holes in it.) I found it easiest and faster to put in about 10 brads then turn it over and set them all at once.
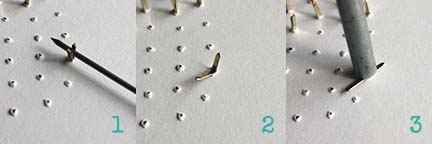
To use your paper piercer to set your brads on back just do this:
1. Use the tip of your paper piercer to start separating the brad back.
2. What it looks like after step 1.
3. Use the other end of the paper piercer to finish off setting the brad.
Keep going until you’re finished. Honestly, setting all the brads didn’t take as long as I thought it would!
Happy Crafting!
Erin



LOVE IT!!
OMGosh! This is super cool and oh so fun! You rock Erin! :D
how CUTE!! I never thought to use nail polish to change the color. I always heat them up and dip them into EP, but this would be so much easier. And save a few burnt fingers in the process, LOL!
Thanks everyone!
@Wendyp: I’m so glad I could save you some burnt fingers!!! :)
Thanks! It looks so good and sounds so easy!
ACK! What a killer idea!!! I love this!!
HUGS Erin!