Hello blog hoppers! I’m super excited to be a part of the Windham Fabrics blog hop celebrating designer Dinira Mirtalipova’s new fabric line called Swim Team. How fun are these prints?!?
I love the hand-drawn sketchy feel to many of them and there’s even fun little fish hidden in a few of the prints. I have a new quilt pattern coming out next week that uses this collection that I’ll share soon but how about a tote to tide you over until then? (Oh, and don’t forget to check the bottom for all the details on how to enter to win 1 of 2 Fat Quarter bundles I’ll be giving away!!) GIVEAWAY NOW CLOSED
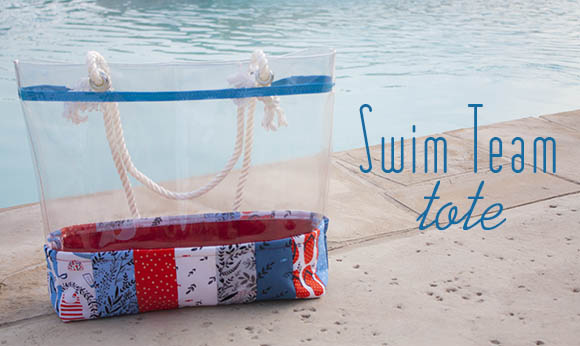
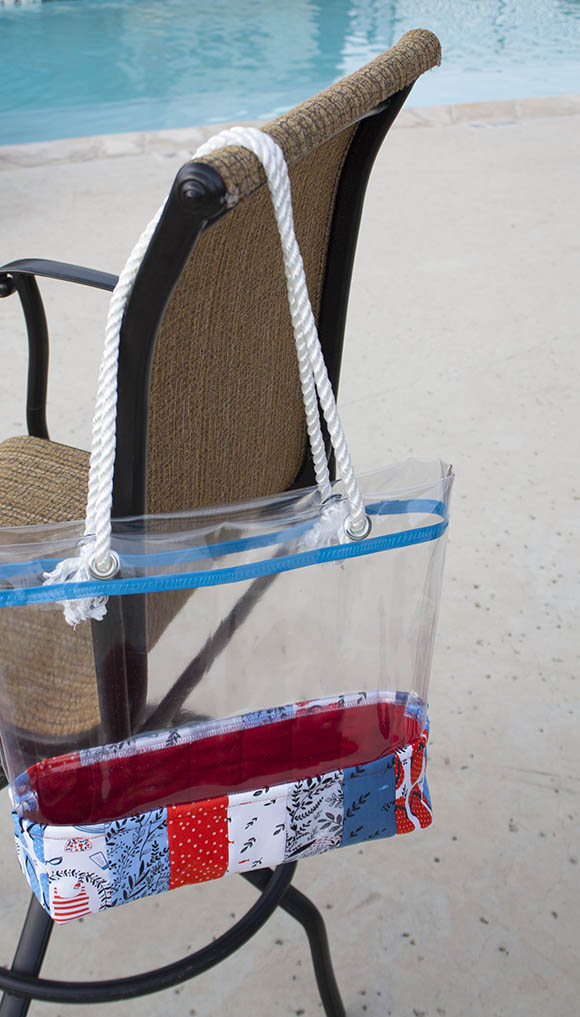
Swim Team Tote
Finished Size: 14″ w x 13″ h x 4″ d
You’ll need the following to make your own Swim Team tote:
(2) 12″ x 18 1/2″ pieces of medium weight clear vinyl (I use the 16 gauge from Joann Fabrics.)
(18) 2 1/2″ x 8″ strips of Swim Team Fabrics
(2) 8″ x 20″ rectangles of coordinating fabric for lining
(4) 8″ x 20″ rectangles of cotton quilt batting
1 1/4 yards of 1/2″ wide double fold binding
2 yards of rope for handles (found at the local home improvement store)
(4) 7/16″ metal grommets and setting tool

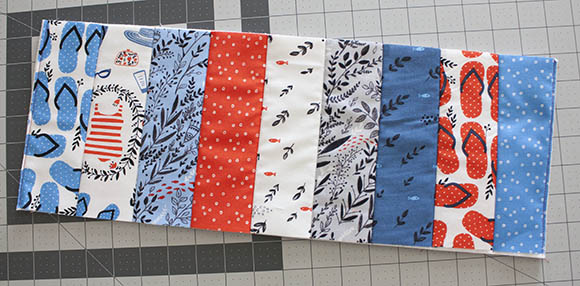
Step 1: Divide your 18 strips into two piles of 9 strips each and lay out how you’d like them to be.
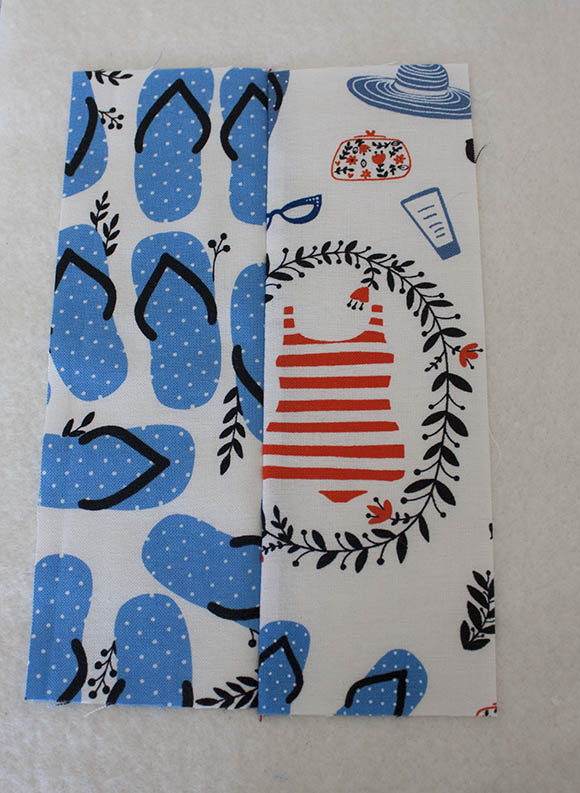
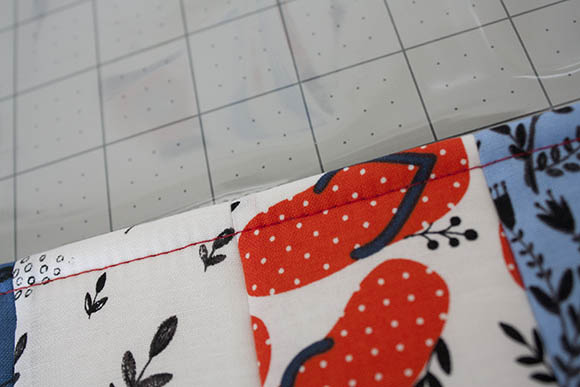
Step 2: We’ll use a quilt as we go method to finish up the bottom of the bag quickly. Make a quilt sandwich with the lining rectangle, two pieces of cotton batting, and layout the first of the strips. Lay the 2nd strip, right side down on top of the first strip. Stitch a 1/4″ seam to hold in place.
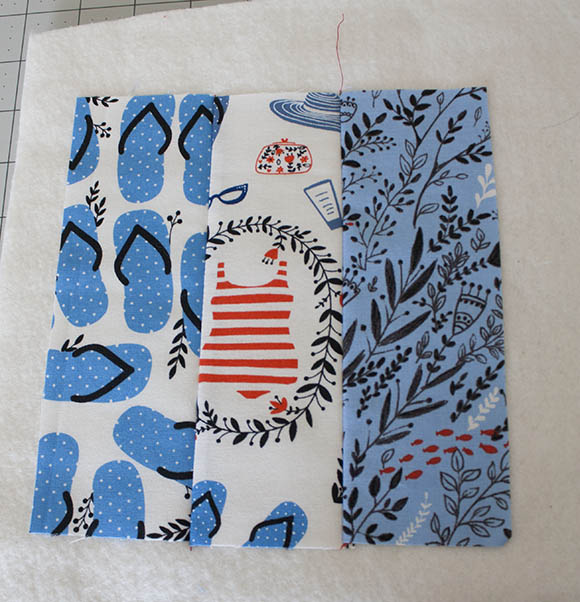
Flip the 2nd strip over and press the seam, then line up your 3rd strip and sew. Continue this process for all 9 strips. Then make another quilt sandwich and repeat the entire process.
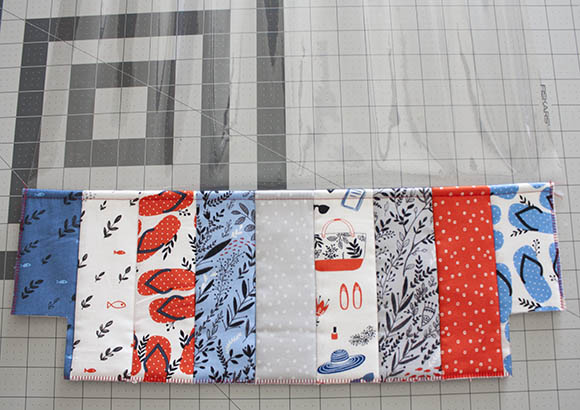
When finished, trim down these pieced rectangles to 7″ x 18 1/2″.
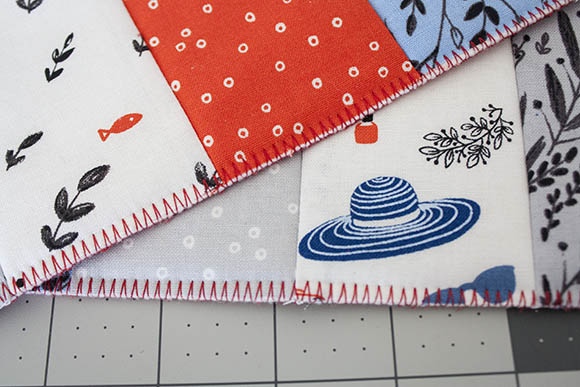
Serge or zig-zag the edges to keep the fabric from fraying.

Step 3: Sew one piece of clear vinyl to one of the quilted rectangles using a 1/2″ seam along the 18 1/2″ edge.
Fold the seam down towards the fabric and topstitch. Repeat this step for the other vinyl and rectangle piece.
*A few quick tips for sewing with vinyl. I used my Janome Ultraglide foot. Use a teflon or non-stick foot if you have one. If not, place a small strip of tissue paper or tear-away stabilizer on top of the vinyl to keep it from sticking to the machine foot. Also be sure to lengthen your stitch length to somewhere closer to 3. This will make it easier to stitch through the vinyl.
Cut out a 2″ square from each of the bottom corners.
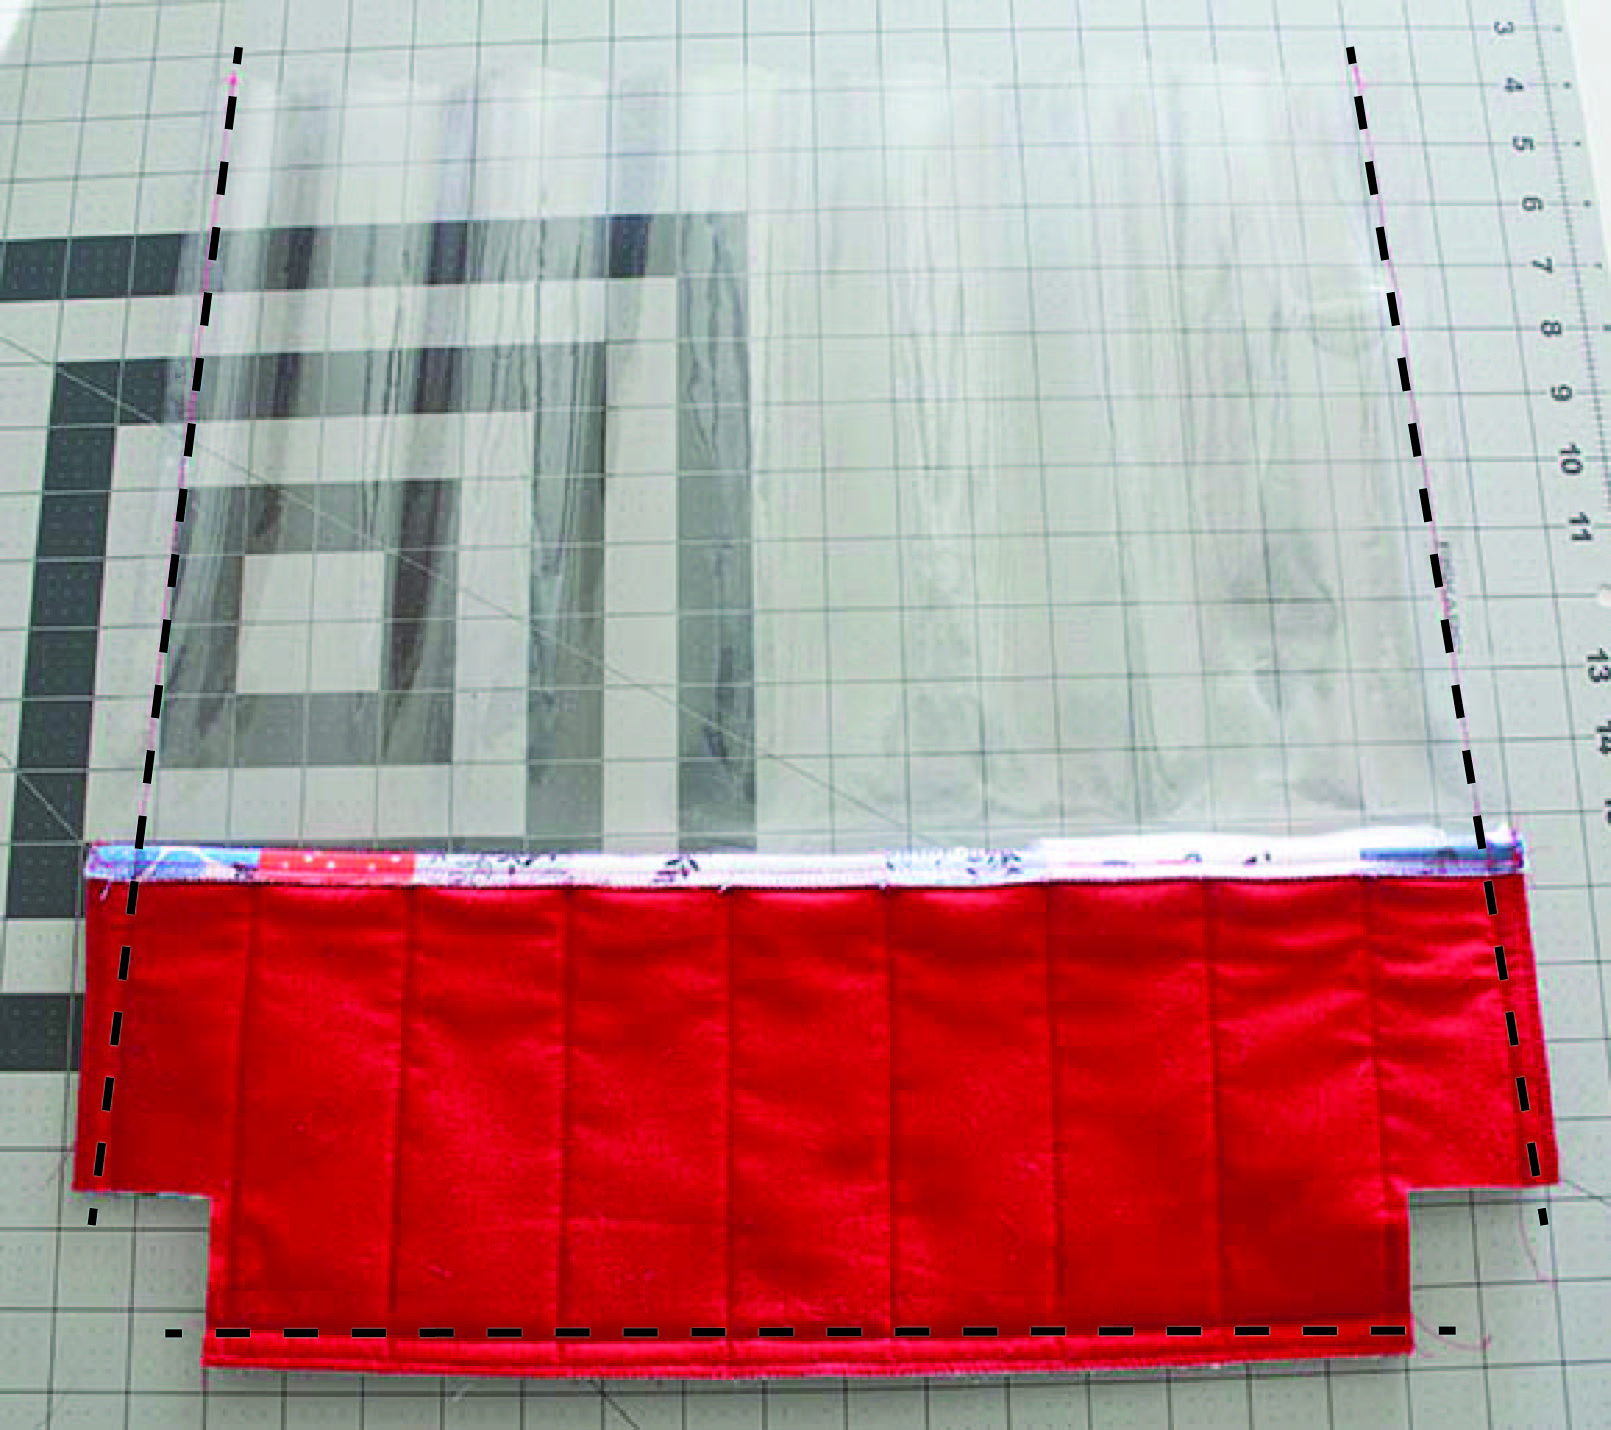
Stitch the straight side edges and bottom edge with a 1/2″ seam.
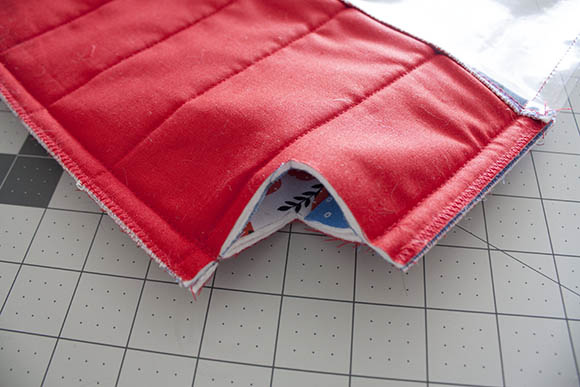
Pull the corner edges out and flatten to form the bottom gusset of the bag.
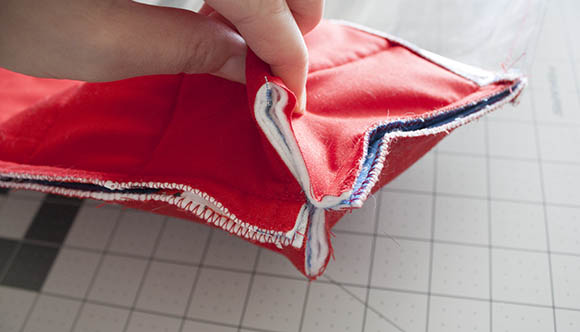
Stitch using a 1/4″ seam.
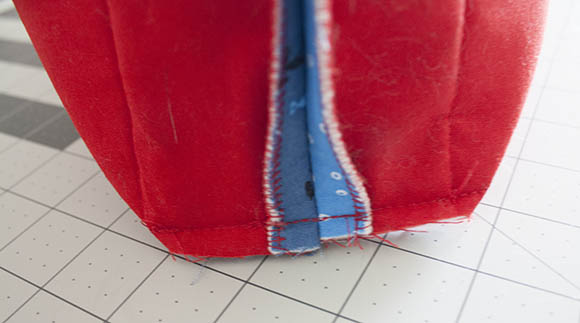
Finish the edges using a serger or zig-zag stitch.
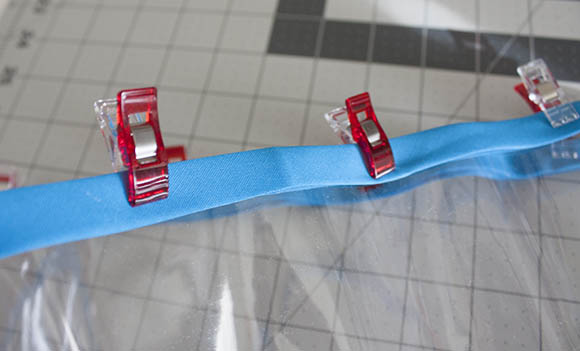
Use the binding to cover the top edge of the vinyl. Clip it in place.
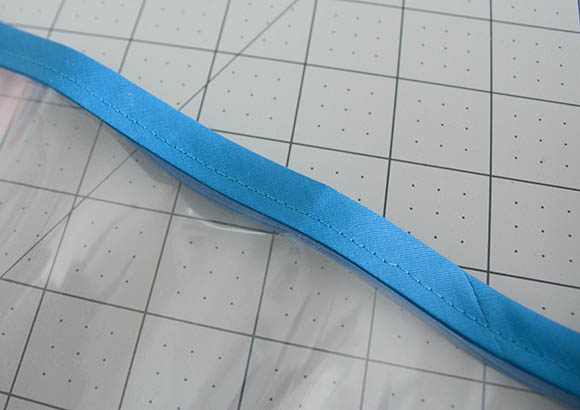
Use a straight stitch along the edge to secure.
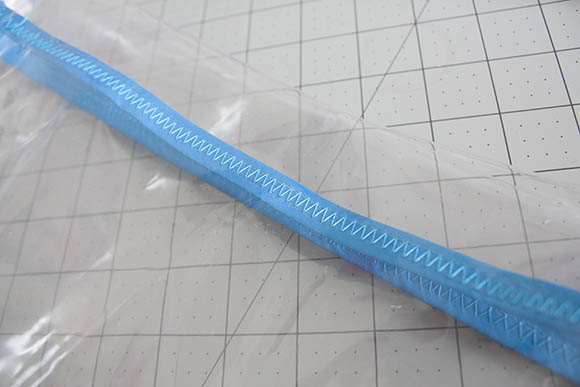
Fold over the top edge 2″ and use a zig-zag stitch to secure the 2″ fold. Stitch directly on the binding to keep things nice and even.
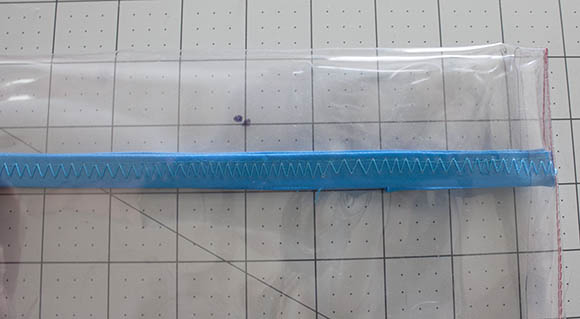
Measure in 4 1/2″ from the side seam and down 1″ from the top and make a mark.
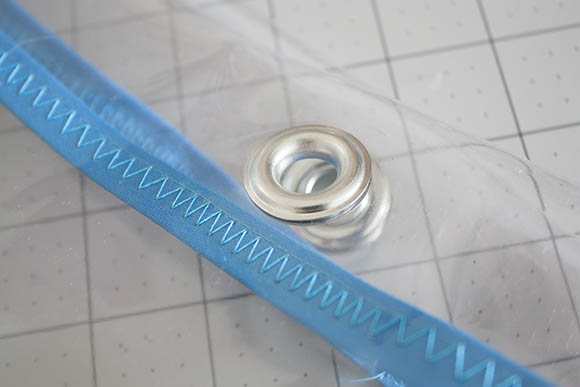
Using the installation instructions on the grommet package insert grommets centered on the mark. (To easily cut the hole out for the grommet I used a single-hold paper punch to punch out the center of the vinyl.) Cut the rope into (2) 32″ pieces. Insert each end into one grommet and tie a knot to secure. Pack up your tote and you’re ready for some summer fun!
Ready for the giveaway so you can make your own tote or quilt? How about leaving me a comment and letting me know what you’d like to make with your Fat Quarter bundle? I’d love if you “liked” my Facebook page too! I’ll draw the winners on Tuesday, May 27th and two lucky people will win Fat Quarter bundles… and maybe I’ll throw in a Schlosser Designs pattern too! ;) CLOSED
Don’t forget to visit everyone else on the blog hop for more chances to enter:
Wed May 21 – Windham Fabrics
Thursday May 22 – Dinara Mirtalipova’s
Friday May 23 – Schlosser Designs (That’s me!)
Saturday May 24 – Melissa at Missouri Mel
Sunday May 25 – Terri at Quilted Fox
Monday May 26 – Nell at Nell’s Notions
Happy Sewing!
I was thinking summer bag as soon as I saw these fabrics, and then I fell in love with your beach tote. So, that is what I’d make. By the way, I paid close attention when reading the tutorial, and it is very clear and well done.
I’d make a cute summer purse!
I would make this pattern! I need a waterproof bag and the fabric choice is perfect!
Love this bag so much! I might make this one or the Ahoy tote, or lap quilt for my little miss.
I would love to make bags for my three sisters when I go home to Myrtle Beach for July 4th! I love this bag, thank you so much for your wonderful talents! Love love!! Pam
You rock Erin!!
Erin,
Love your clever & unique patterns! You are so talented! Your designs are wonderful!
Love the bag! I think this fabric would make a fun pool/picnic blanket too! :) Thanks for the chance! (already a fan of yours on FB)
I have friends who just bought a beach house. I was thinking a house warming quilt for them. Erin, your designs gave such whimsy. Loved both of the laura and Kate totes.
I know a fat quarter bundle wouldn’t be enough, but what I’d really like out of this fabric is a summer dress or beach cover up! I love it!
Hello first time to your site!! Awesome tutorial, I would use that for my granddaughters swim lesson bag!! I love the simplicity of your tute!! I love to sew for my granddaughter and she would so love this material as well. She can’t wait to help me in my sewing studio!!(she’s only 5 years old) She loves to play in my scrap bin and create things already! Keep up the good work and I will be following you!! Tam in Kansas
What cute fabric! I think I would make a beach tote just like yours! Thanks for the tutorial.
I’d make a bag just like yours – I love it!
Thank you!
since we live at the beach now in FL.. oh my this would be perfect!! I would use these to make embellished dishcloths and some embellished canvas totes for the beach here! Love these..crossing my fingers and saying a prayer my name is picked!! thks for the chance to win.. love these!! xoxoxo
bonitarose
Your fabulous tote is going to make a huge splash this summer Erin!!! With your marvelous tutorial and gorgeous inspiration, I really would love to try my hand at making one half as awesome as yours. This summer bundle is so very lovely, thanks for sharing your wonderful creation today and also for offering up a couple bundles of summer fun with your super cool giveaway!!! Hugs and I hope you have a great holiday weekend! :)
Erin – your talents never cease to amaze me and BTW huge Congrats for all your photo ops in the Valli & Kim spread in Quilt Sampler Magazine! The summer bundle is inspiring and I think I’d make a summertime table topper with it! Keep up the creativity!
: )
These fabrics are perfect for a beach tote! Love the pattern.
I would love to make a few of your bags for myself and my daughters. Thank you for the great tutorial and giveaway.
I would love to make that tote!!!!! thanks for the chance
That tote is wonderful! I might make one like it, or maybe make a beach blanket.
Your bvag looks amazing and so professional too! If I won a bundle of this so darn sweet fabric I would make a beach tote too and a matching beach quilt!! Thanks for sharing!
I would make some cosmetic cases and totes. Thanks so much for your tutorial! I’ve never sewn with vinyl before, so this was very educational.
Oh how fun! I coach a summer swim team and LOVE LOVE LOVE this group! Thanks for the fitting project and I think I might just get on this project tonight!
Love this fabric. I been trying to come up with a quilt idea for it but I think I’ll probably make a tote of some kind.
Love this fabric!!! And would like to make either this bag or another tote style bag. :) Thanks for the tutorial!!!!
I would use the prints with fish in them to make something for my Grandpa for Christmas.
I love your bag. I was just thinking I need a summer tote bag for the pool. I would make a summer tote, just a little different. I don’t like working with vinyl, mine tends to tear.
Wow! You are very creative. Love the clear vinyl bag. svonfumetti at yahoo dot com
Very nice tutorial! I just found and followed you! I hope to make this soon with my daughter! Susan
Oh I forgot to tell you what we would make! We would make this beach tote and then we just learned to make wristlets. So we would make those to go along with our totes! Perfect for our beach trip this summer! Thanks! susan
Thanks for the tutorial! I think I would also make a summer bag. I “liked” your Facebook page too!
I really want to copy Melissa’s triangle pillow! I’d make a set.
I’d love to make this tote!
Liked you on FB!
Fabulous tote and tutorial.With the blues one I`ll sew several blocks to my blue Dear Jane quilt.Thanks for the chance!
Fabulous tutorial! I think I would attempt to make a beach bag, if I won the fabric.
I ‘d make your swim bag, and a Noodlehead summer tote bag!
Living on the coast in Oregon, we frequent the beach. I would make a beach throw to take with us. :)
craftyccain@gmail.com
I can envision a beach tote or a beach quilt. How cute can you get?
I would love to make some cushions and placemats for my patio. We live on a lake, so this fabric would be perfect! Thanks!
I love that tote with the clear vinyl! I would make that for sure. Maybe some little zippy bags for carrying beach items in. So many possibilities.
Love the bag you made. I would probably make a picnic quilt with beach tote to match.
Loooove these fabrics!! Sooo fun!! Would make a Beach Quilt/blanket for my daughter…she lives in NC & goes to the Beach often. KNOW she would love it!
I don’t do FB, Twitter, etc etc…so Thank You for chance to still participate in this Drawing! Appreciate it very much :)
I absolutely adore this fabric! I love your bag and I would love to say I would make it but the vinyl scares me. I would definitely make a beach bag/ tote. Thank you for sharing your tutorial…I did bookmark it for later.
i love this fabric line. i think it would be great for a summer quilt to take on vacation. thank you so much for a wonderful giveaway. babscorbitt at gmail dot com
I love this fabric..I definitely need to make your tote bag to use when I go to the pool every day to exercise.
I would like to make a picnic quilt.
I would love to make a tote bag like yours. I hope I can find the grommet pieces.
Thanks for this lovely tutorial! The bag is adorable, and the tips would be useful for any project involving vinyl. Yayyy!
I think this fabric would make a great pieced picnic blanket!