Hello blog hoppers! I’m super excited to be a part of the Windham Fabrics blog hop celebrating designer Dinira Mirtalipova’s new fabric line called Swim Team. How fun are these prints?!?
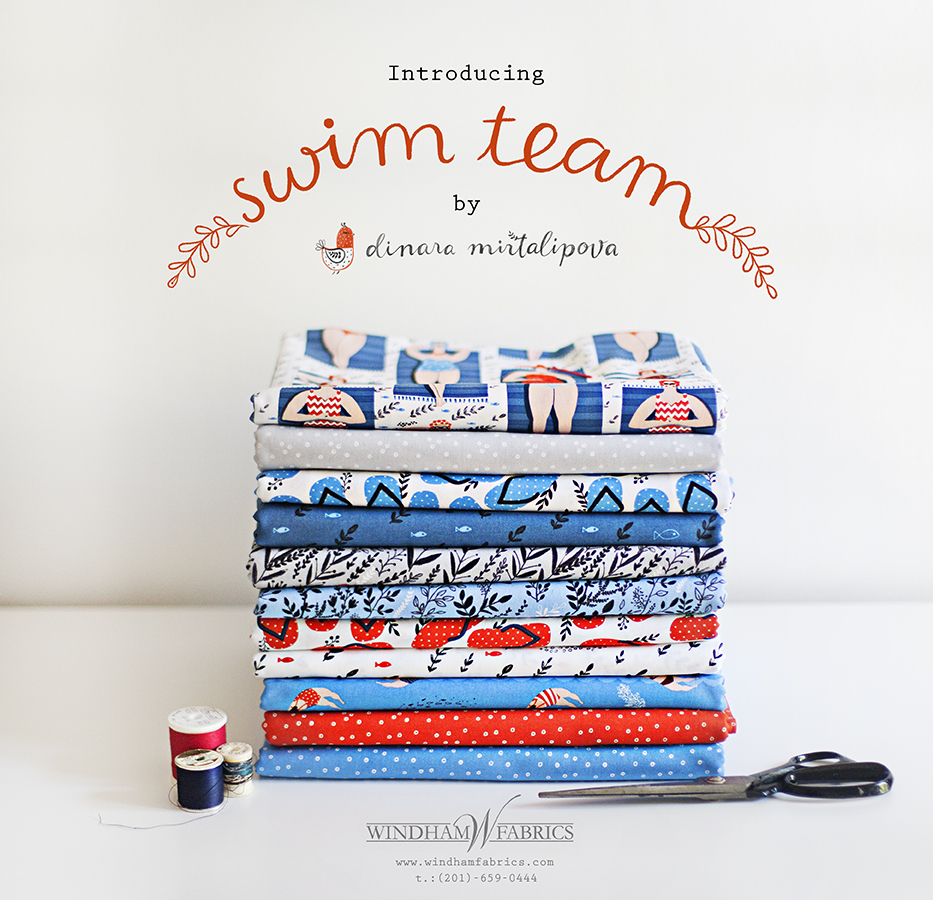
I love the hand-drawn sketchy feel to many of them and there’s even fun little fish hidden in a few of the prints. I have a new quilt pattern coming out next week that uses this collection that I’ll share soon but how about a tote to tide you over until then? (Oh, and don’t forget to check the bottom for all the details on how to enter to win 1 of 2 Fat Quarter bundles I’ll be giving away!!) GIVEAWAY NOW CLOSED
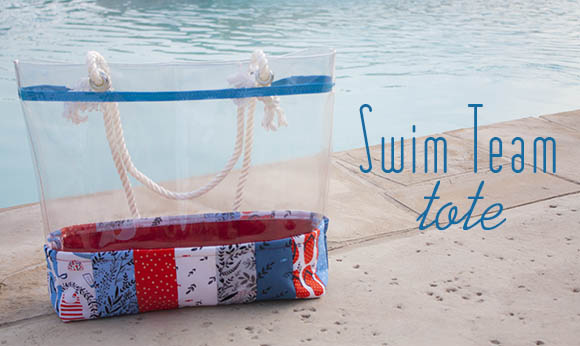
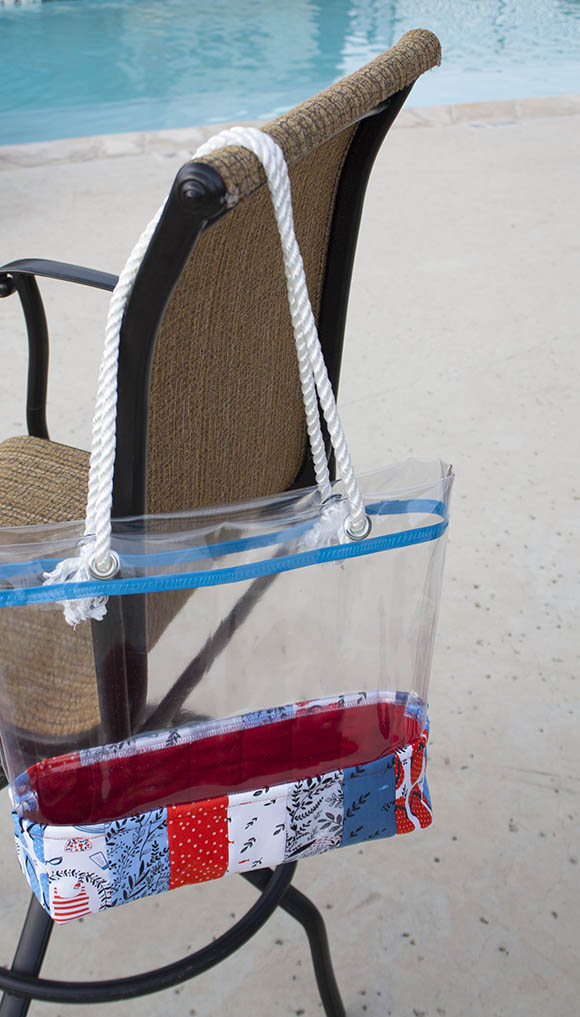
Swim Team Tote
Finished Size: 14″ w x 13″ h x 4″ d
You’ll need the following to make your own Swim Team tote:
(2) 12″ x 18 1/2″ pieces of medium weight clear vinyl (I use the 16 gauge from Joann Fabrics.)
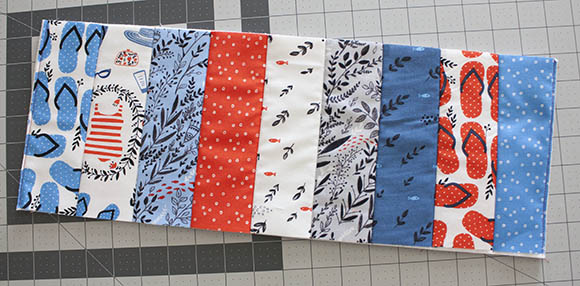
(18) 2 1/2″ x 8″ strips of Swim Team Fabrics
(2) 8″ x 20″ rectangles of coordinating fabric for lining
(4) 8″ x 20″ rectangles of cotton quilt batting
1 1/4 yards of 1/2″ wide double fold binding
2 yards of rope for handles (found at the local home improvement store)
(4) 7/16″ metal grommets and setting tool

Step 1: Divide your 18 strips into two piles of 9 strips each and lay out how you’d like them to be.
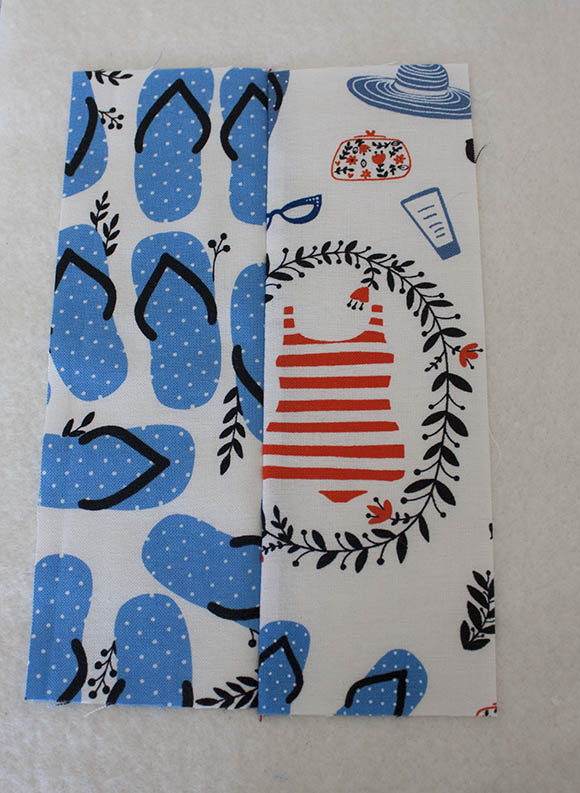
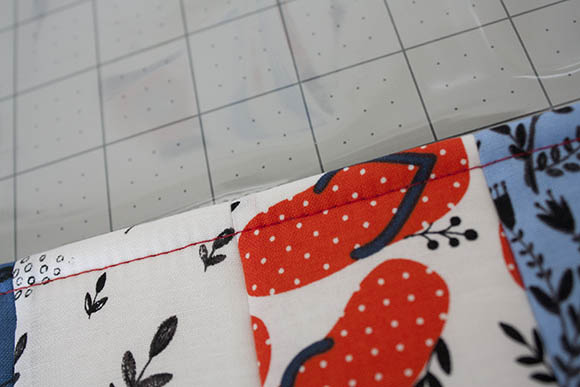
Step 2: We’ll use a quilt as we go method to finish up the bottom of the bag quickly. Make a quilt sandwich with the lining rectangle, two pieces of cotton batting, and layout the first of the strips. Lay the 2nd strip, right side down on top of the first strip. Stitch a 1/4″ seam to hold in place.
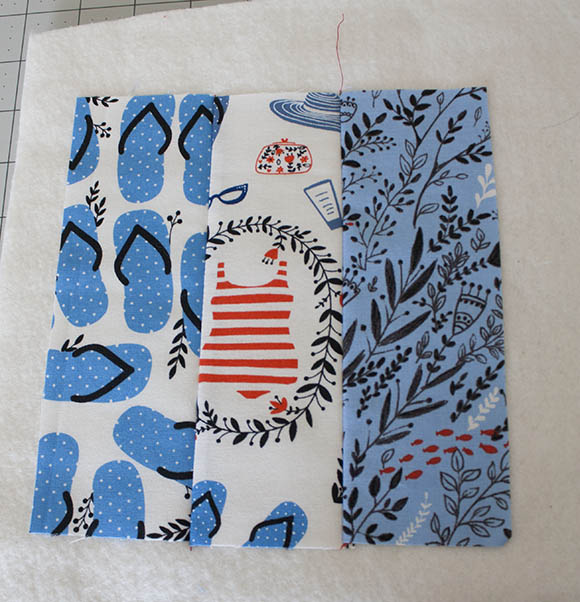
Flip the 2nd strip over and press the seam, then line up your 3rd strip and sew. Continue this process for all 9 strips. Then make another quilt sandwich and repeat the entire process.
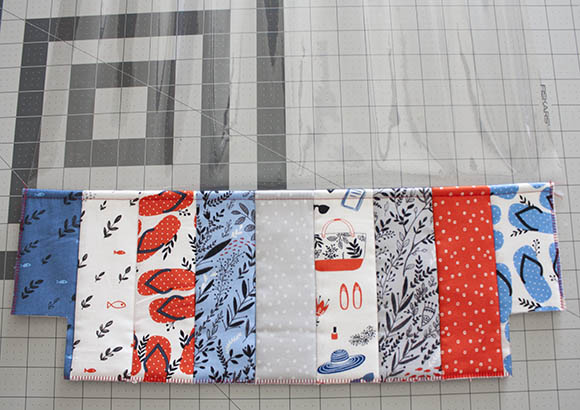
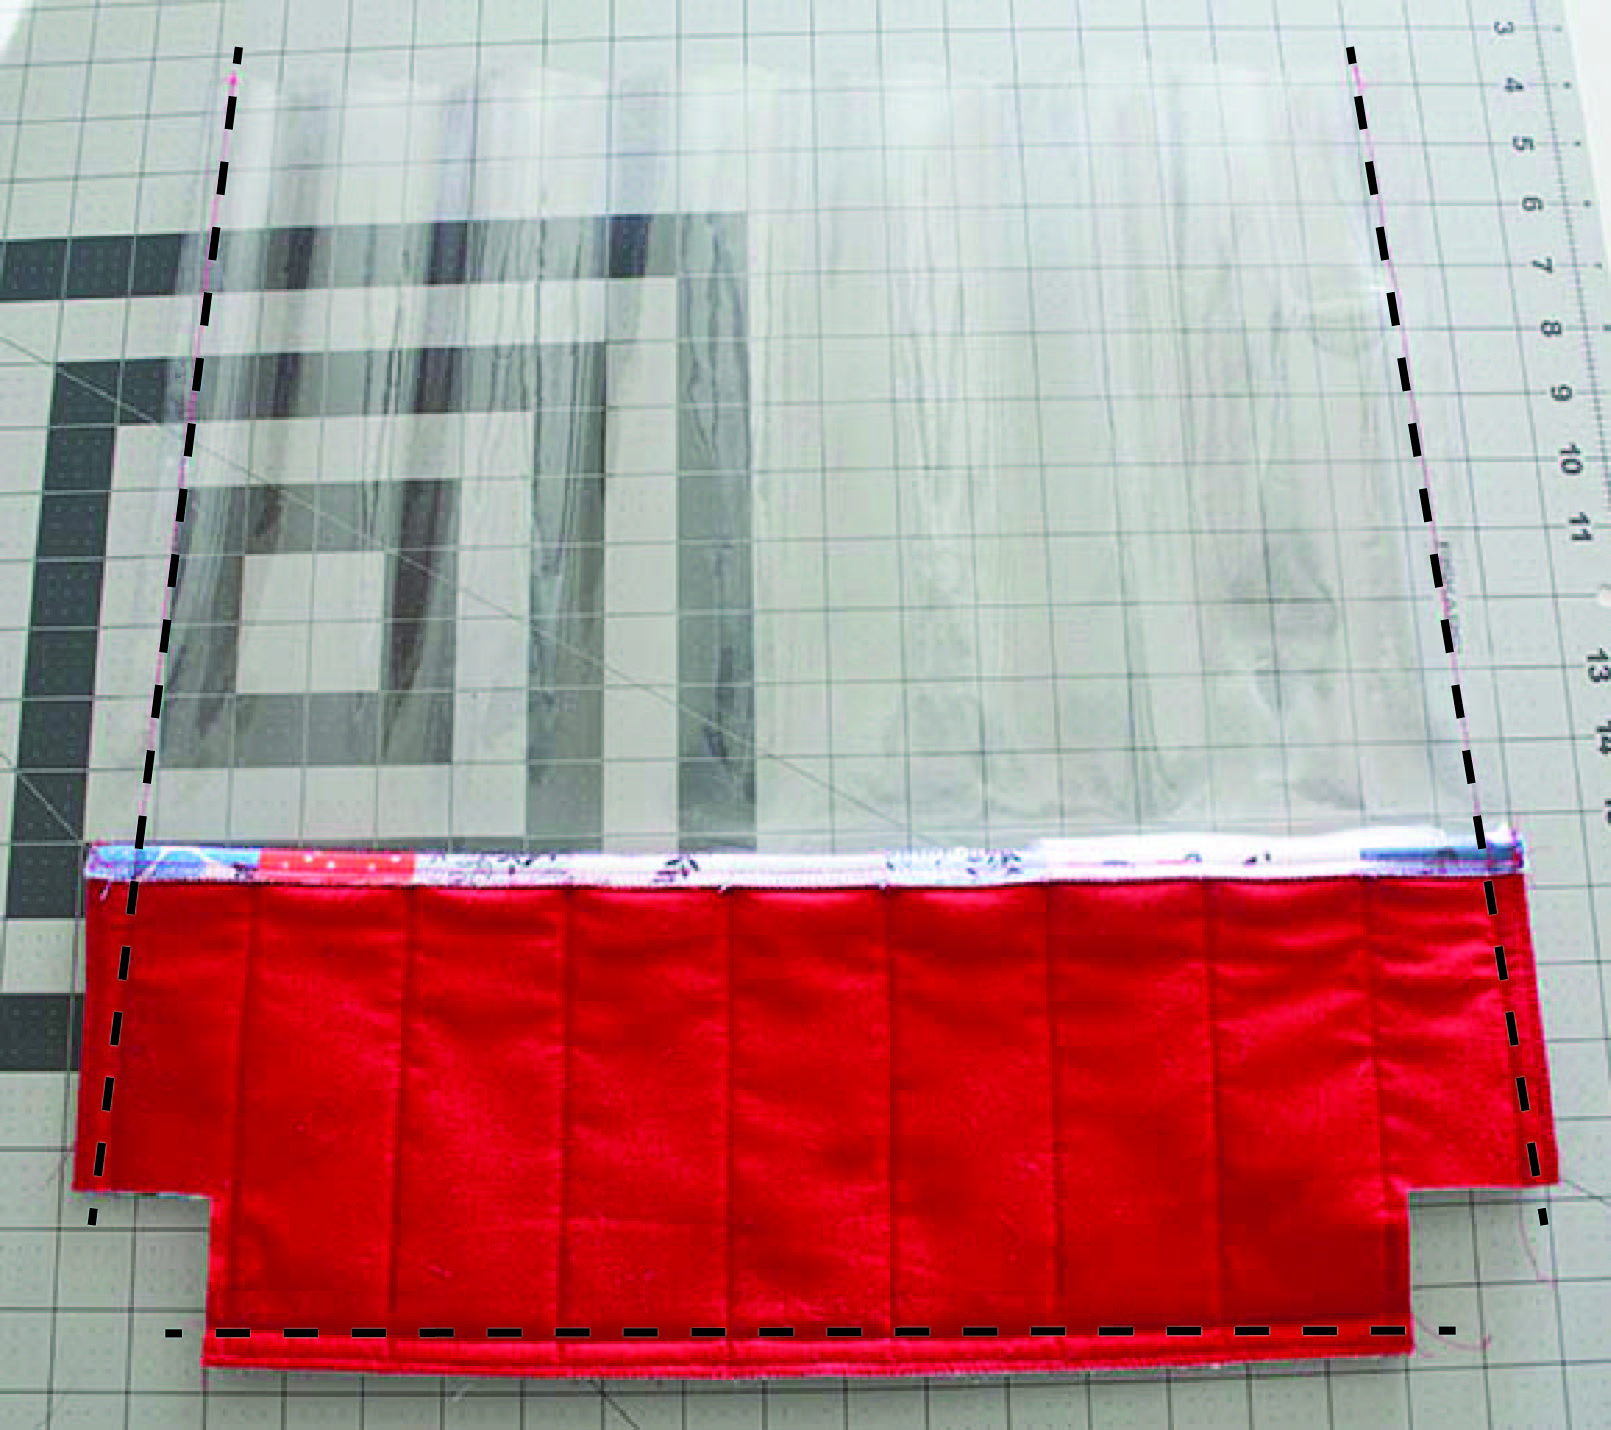
When finished, trim down these pieced rectangles to 7″ x 18 1/2″.
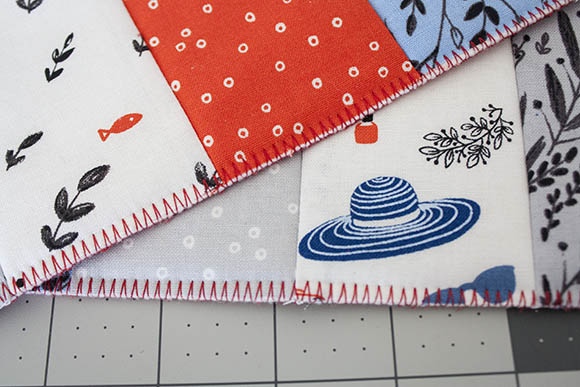
Serge or zig-zag the edges to keep the fabric from fraying.

Step 3: Sew one piece of clear vinyl to one of the quilted rectangles using a 1/2″ seam along the 18 1/2″ edge.
Fold the seam down towards the fabric and topstitch. Repeat this step for the other vinyl and rectangle piece.
*A few quick tips for sewing with vinyl. I used my Janome Ultraglide foot. Use a teflon or non-stick foot if you have one. If not, place a small strip of tissue paper or tear-away stabilizer on top of the vinyl to keep it from sticking to the machine foot. Also be sure to lengthen your stitch length to somewhere closer to 3. This will make it easier to stitch through the vinyl.
Cut out a 2″ square from each of the bottom corners.
Stitch the straight side edges and bottom edge with a 1/2″ seam.
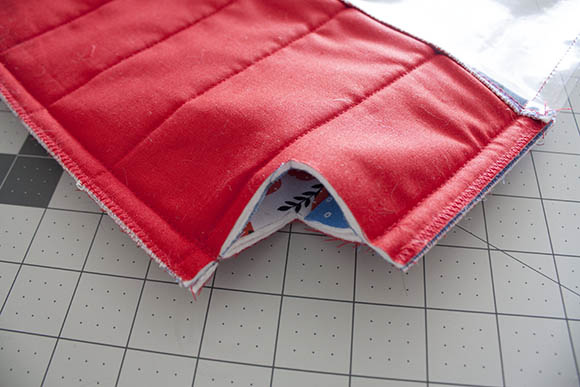
Pull the corner edges out and flatten to form the bottom gusset of the bag.
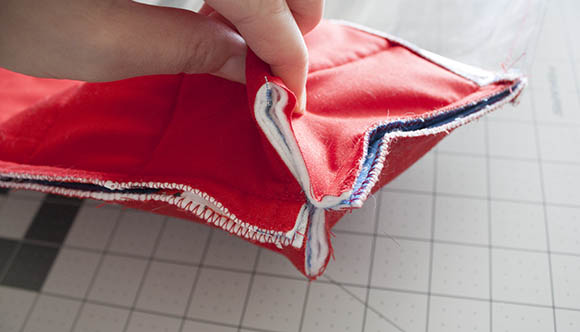
Stitch using a 1/4″ seam.
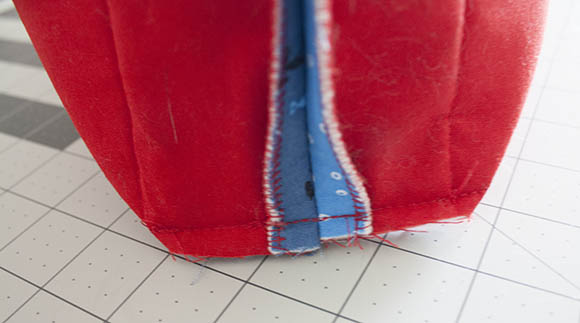
Finish the edges using a serger or zig-zag stitch.
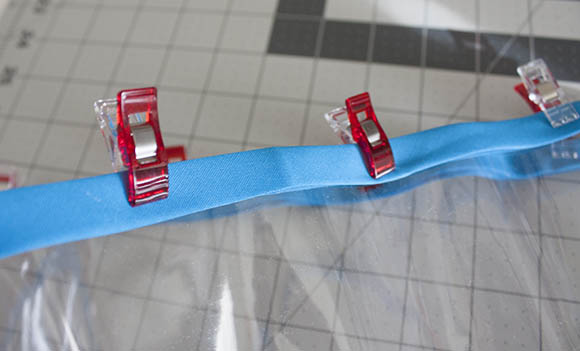
Use the binding to cover the top edge of the vinyl. Clip it in place.
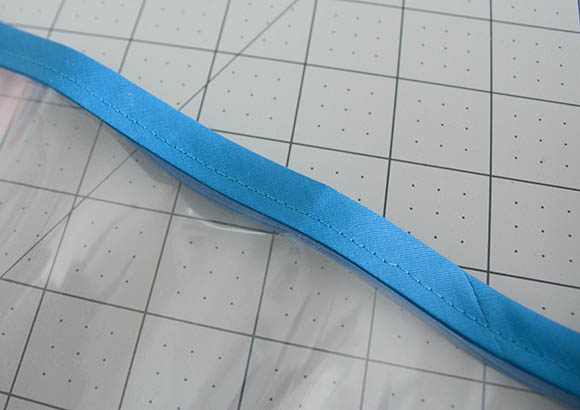
Use a straight stitch along the edge to secure.
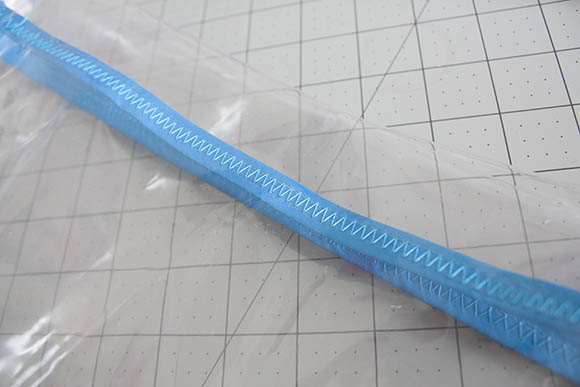
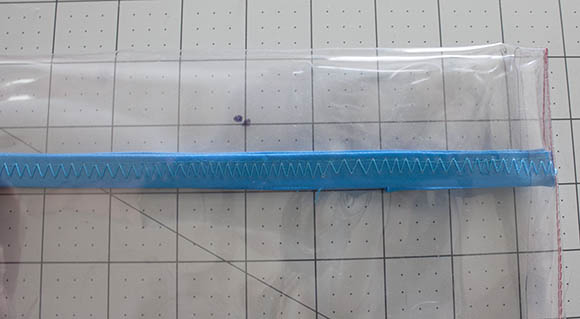
Fold over the top edge 2″ and use a zig-zag stitch to secure the 2″ fold. Stitch directly on the binding to keep things nice and even.
Measure in 4 1/2″ from the side seam and down 1″ from the top and make a mark.
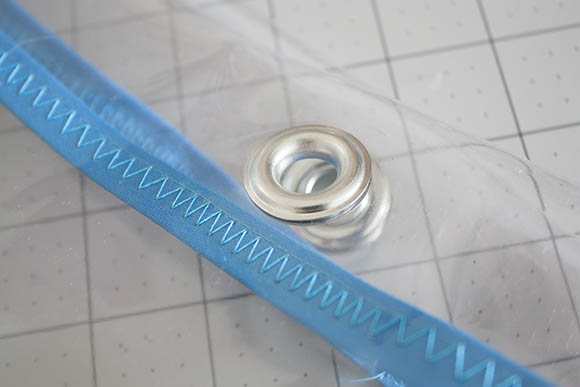
Using the installation instructions on the grommet package insert grommets centered on the mark. (To easily cut the hole out for the grommet I used a single-hold paper punch to punch out the center of the vinyl.) Cut the rope into (2) 32″ pieces. Insert each end into one grommet and tie a knot to secure. Pack up your tote and you’re ready for some summer fun!
Ready for the giveaway so you can make your own tote or quilt? How about leaving me a comment and letting me know what you’d like to make with your Fat Quarter bundle? I’d love if you “liked” my Facebook page too! I’ll draw the winners on Tuesday, May 27th and two lucky people will win Fat Quarter bundles… and maybe I’ll throw in a Schlosser Designs pattern too! ;) CLOSED
Don’t forget to visit everyone else on the blog hop for more chances to enter:
Wed May 21 – Windham Fabrics
Thursday May 22 – Dinara Mirtalipova’s
Friday May 23 – Schlosser Designs (That’s me!)
Saturday May 24 – Melissa at Missouri Mel
Sunday May 25 – Terri at Quilted Fox
Monday May 26 – Nell at Nell’s Notions
Happy Sewing!
Thanks for the opportunity to win! I recently found your blog, I love the tote bag pattern! I would def be making one.
Oh that is a great tutorial! I think I’d make a quilt. Or a tote now that I’ve seen your tutorial!
I would make a bag for the summer or maybe a cute apron for cooking at the grill.
I would love to make some place mats.
I would love to make a quilt for my grandson. I love the way the fabric reminds me of summer fun at the lake. Thanks for the great tutorial. What a great idea. Many thanks.
I liked your FB page.
Cute tote. Love that fabric. Thanks for your tutorials. Thanks for the chance at the giveaway.
That is seriously SO adorable! I’d make a quilt, because I’ve never tried to make a bag before.
I love that tote! I think that’s what I’d make too!
What a clever design your tote is! I was thinking that I’d like to make a beach picnic quilt, but now I’m not so sure …..
I liked your facebook
I am going to make some new throw pillows for the patio
I love the collection…Cushions, table runners and napkins for the patio and trim for white beach towels all come to mind for this fabric.. Oh and I liked you on FB!
Hi. I love this bag, so cute to bring to the pool. Loving this fabric line too. Following on facebook as name posted on comment.
Love this bag! I think I would make a cover up for the beach.
I love this bag! It’s so adorable, if I do not win, I’ll be buying this anyway! It’s awesome!
What fun fabric for the summer!!
This fabric would be great for pillows on my deck.
I’d like to make a summer jumper for my nieces with matching little bags for their summer swim toys. I think this would be so cute.
I’d make a tote and a zippered bag. I’m not brave enough to sew with vinyl like how you made your awesome tote (I just now got comfortable with interfacing) but I can totally manage a regular tote (:
I would make some placemats with matching napkins…how fun! Love your tote..that’s a great project too.
Love your tote! Great idea. I would also make a great big pool bag. Thanks
My niece needs a fun beach tote from these fabrics. So cute!
This is a great tutorial and I just bought the plastic, now to make me a bag…
Some decorated flip flops, a beach bag, maybe a cover-up. I would make fun things for sure.
I would love to make a tote bag to go fabric shopping with.
I would have to make a tote bag with these! so cute.
These fabrics would be great for a quilt for my granddaughter.
It would be so much fun to make a tote of these fabrics!
I’d love to make a beach tote too.
I’d love to make a summer quilt with these fabrics!
great tute, thanks