Schlosser Designs

Easy Quick Crafty Projects for Everone!

  • About
  • Advertise
  • Ahoy Tote
  • Beach Towel
  • Blog
  • Cabana Lane
  • Cart
  • Castle Lattice
  • Check Out Success
  • Checkout
  • Chopsticks Tote
  • Contact Me
  • Events
  • Fife Tote
  • Flower Garden Quilt
  • Garden Party Hopscotch
  • Grocery Tote
  • Holiday
  • Home Decor
  • Kate Tote
  • Kitchen Fun
  • Lovestruck Quilt
  • My Account
  • Pattern Corrections
  • Patterns 101
  • Petal Panache Cushion
  • Press
  • Privacy Policy
  • Sewing
  • Sewing Machine Apron
  • Shop
  • Shop FAQ
  • Support Your Local Quilt Shop
  • Terms and Conditions
  • Tutorials
  • Wholesale Info
  • Archives
    • Twitter Feed
  • Project Gallery
  • Store

Zoe Bag Alternate Front

July 2, 2013

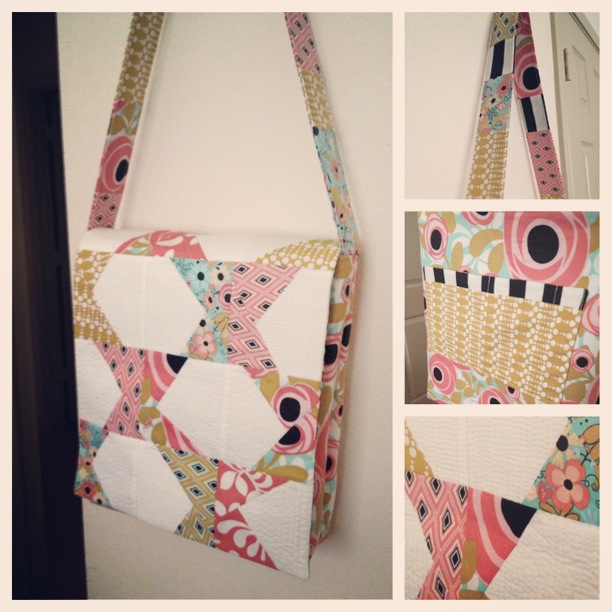
This is one of my favorite bag patterns! I love the size and the ability to make so many different fronts to the bag! This is one I made a little while ago to welcome summer. Here’s how to make this bag flap. (If you don’t already have the pattern you can purchase the print or PDF version in the shop!)

2013-03-28 14.36.22

 (I’ll show you how to make just one block, but the cutting and directions are for 12 blocks for the front.)

ZoeBagAlternate1

Cut your Pieces:

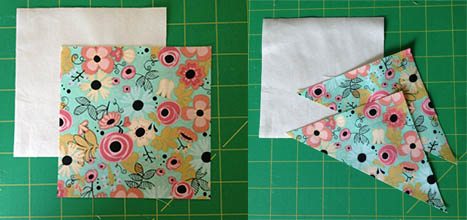
Cut (12) 4 3/4″ squares of your background fabric (I used a white cotton.)

Cut (12) 4 3/4″ squares of the accent fabrics (Use the same, or mix it up for a scrappy, yet coordinated look) Cut each of your accent fabric squares in half, along the diagonal.

ZoeBagAlternate2

Make the Block:

Take one accent triangle, place it on your background square at an angle, stitch using a 1/4″ seam. Trim the seam down, and press flat. Attach another accent triangle at an opposite angle. Stitch, trim, and press. Trim down to a 4 1/2″ square.

Repeat this process until you have 12 squares. The trick here is to not over think the angles. (It doesn’t have to be nice and even!)

2013-03-27 16.48.00

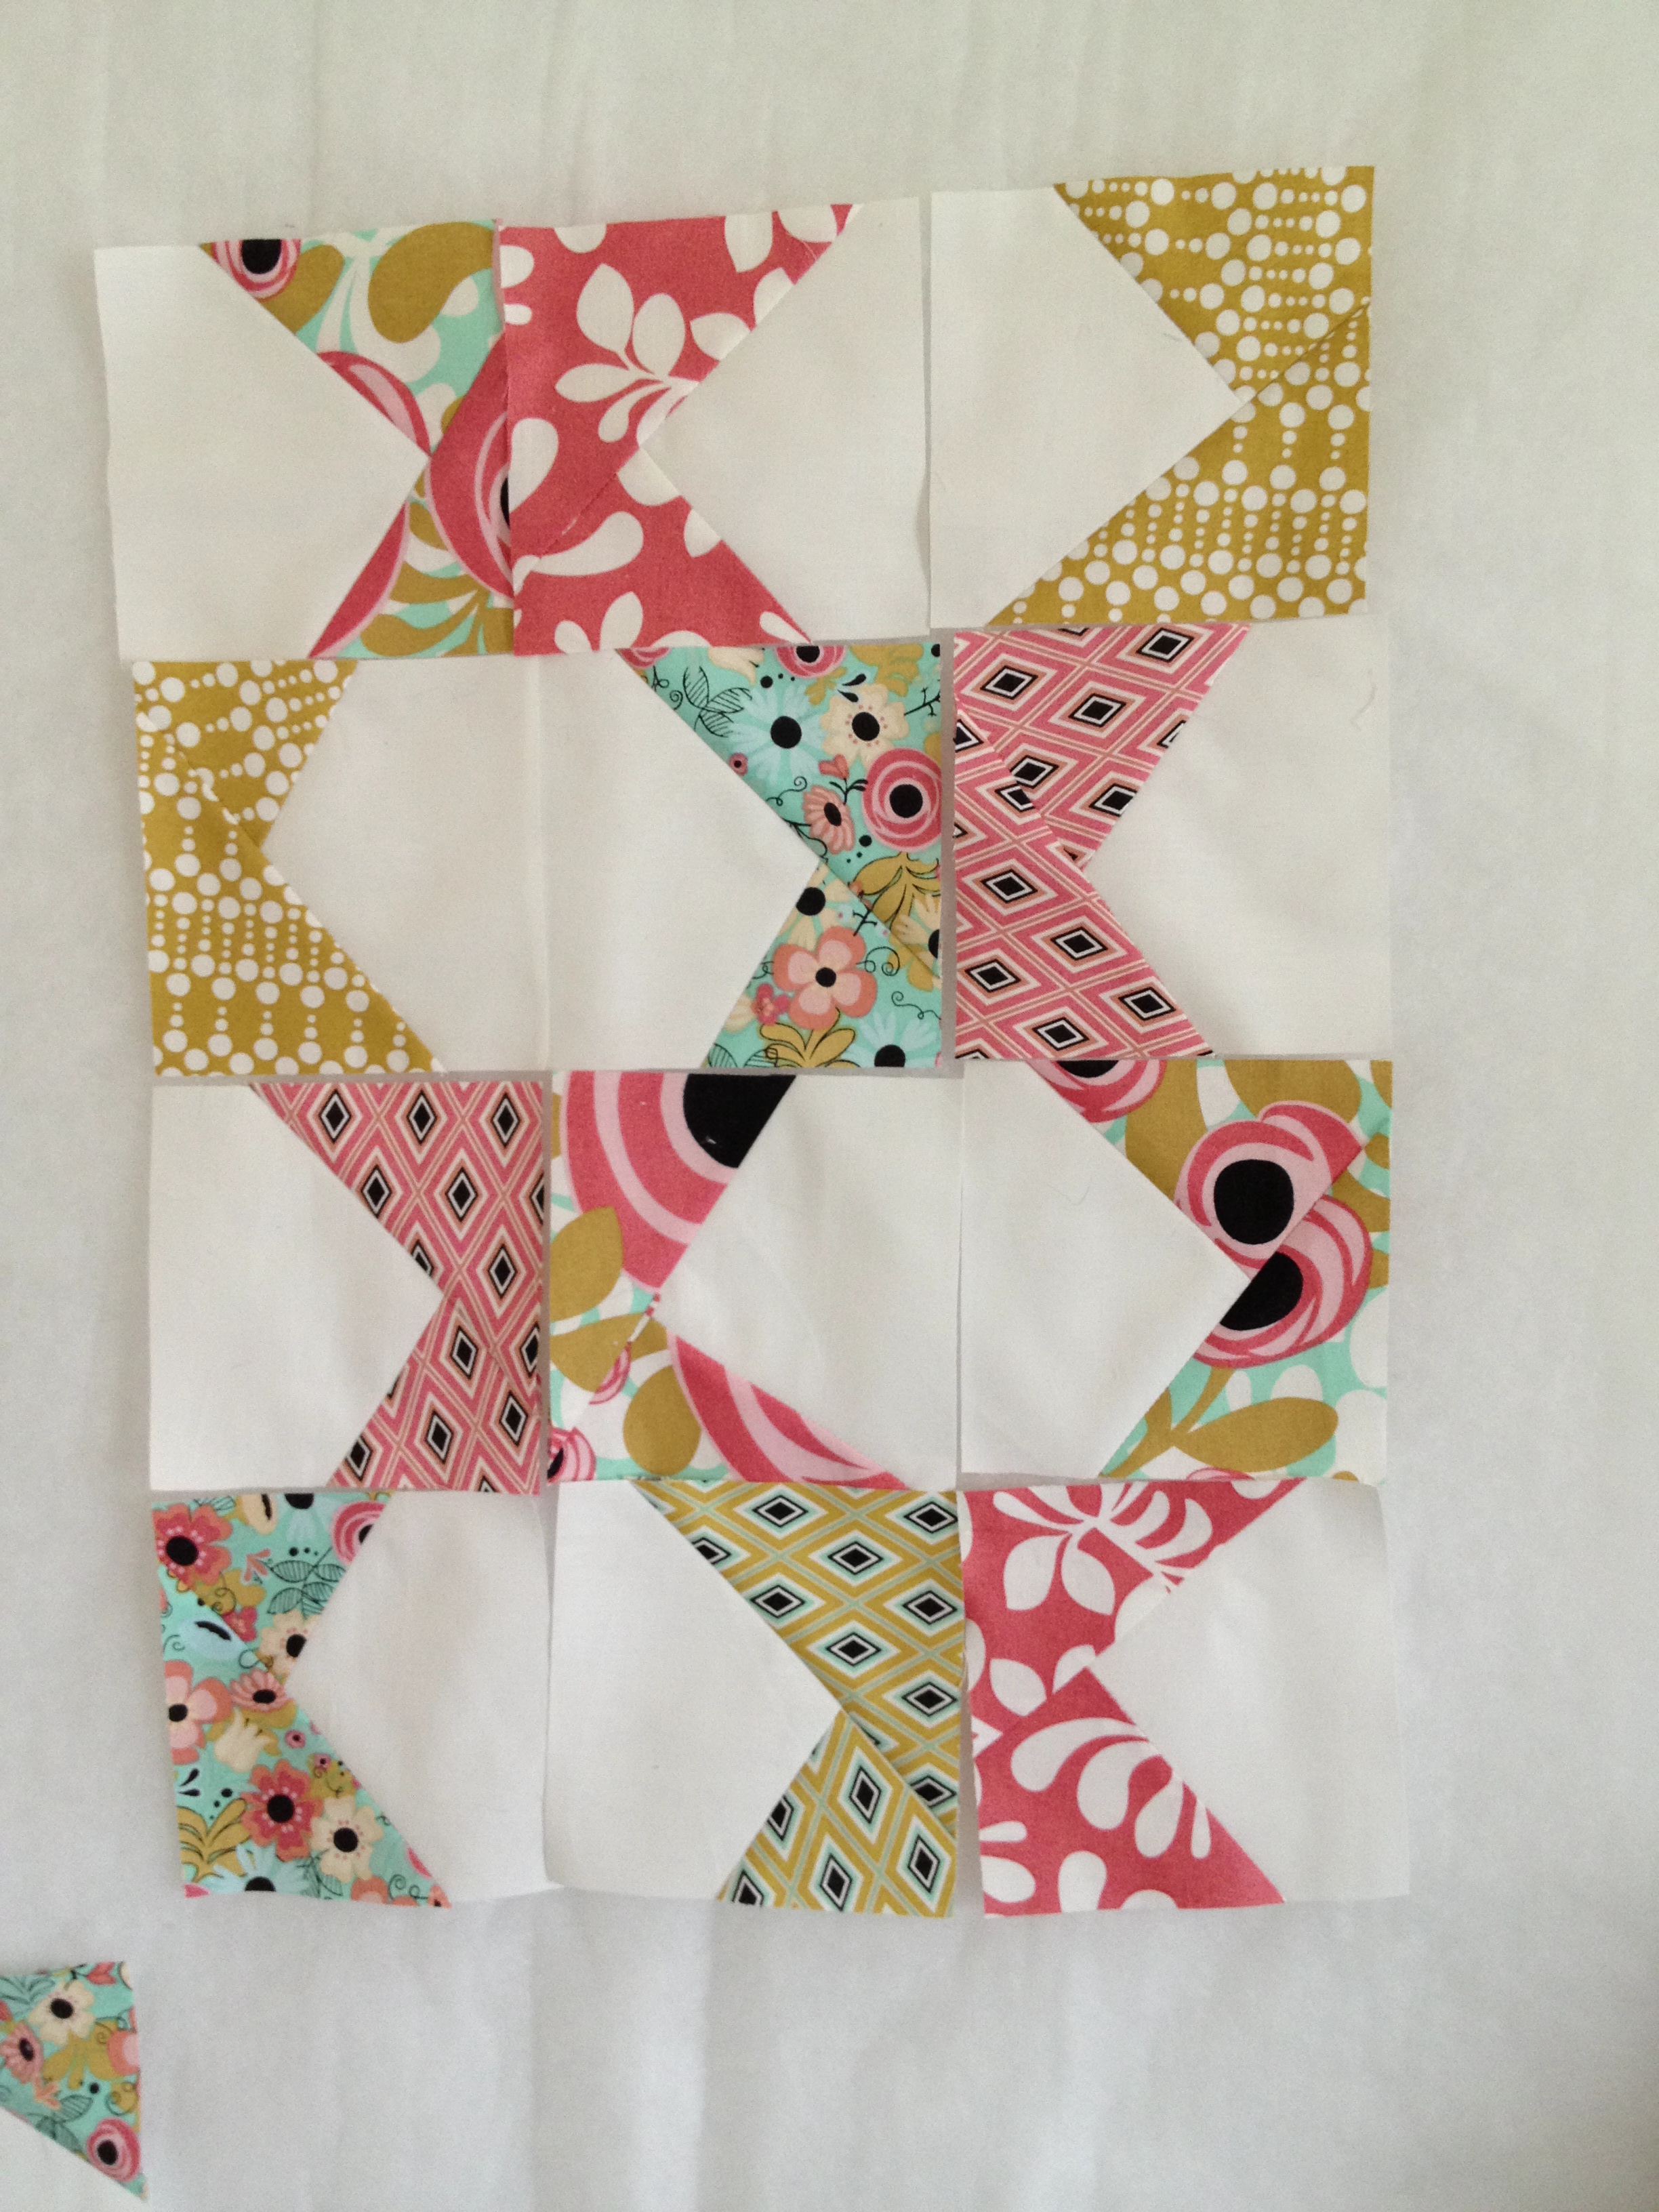
Piece together your front bag flap by sewing squares together so you have a rectangle that’s 3 squares x 4 squares. Cut a batting piece slightly larger, pin pieced front on top, and quilt as desired. (I did teeny matchstick quilting on my background. Lots of time was spent, but I love the look!) Trim off extra batting, measure this piece, cut out a back lining piece the same size, and continue the process of sewing up your bag!

2013-03-28 14.27.56

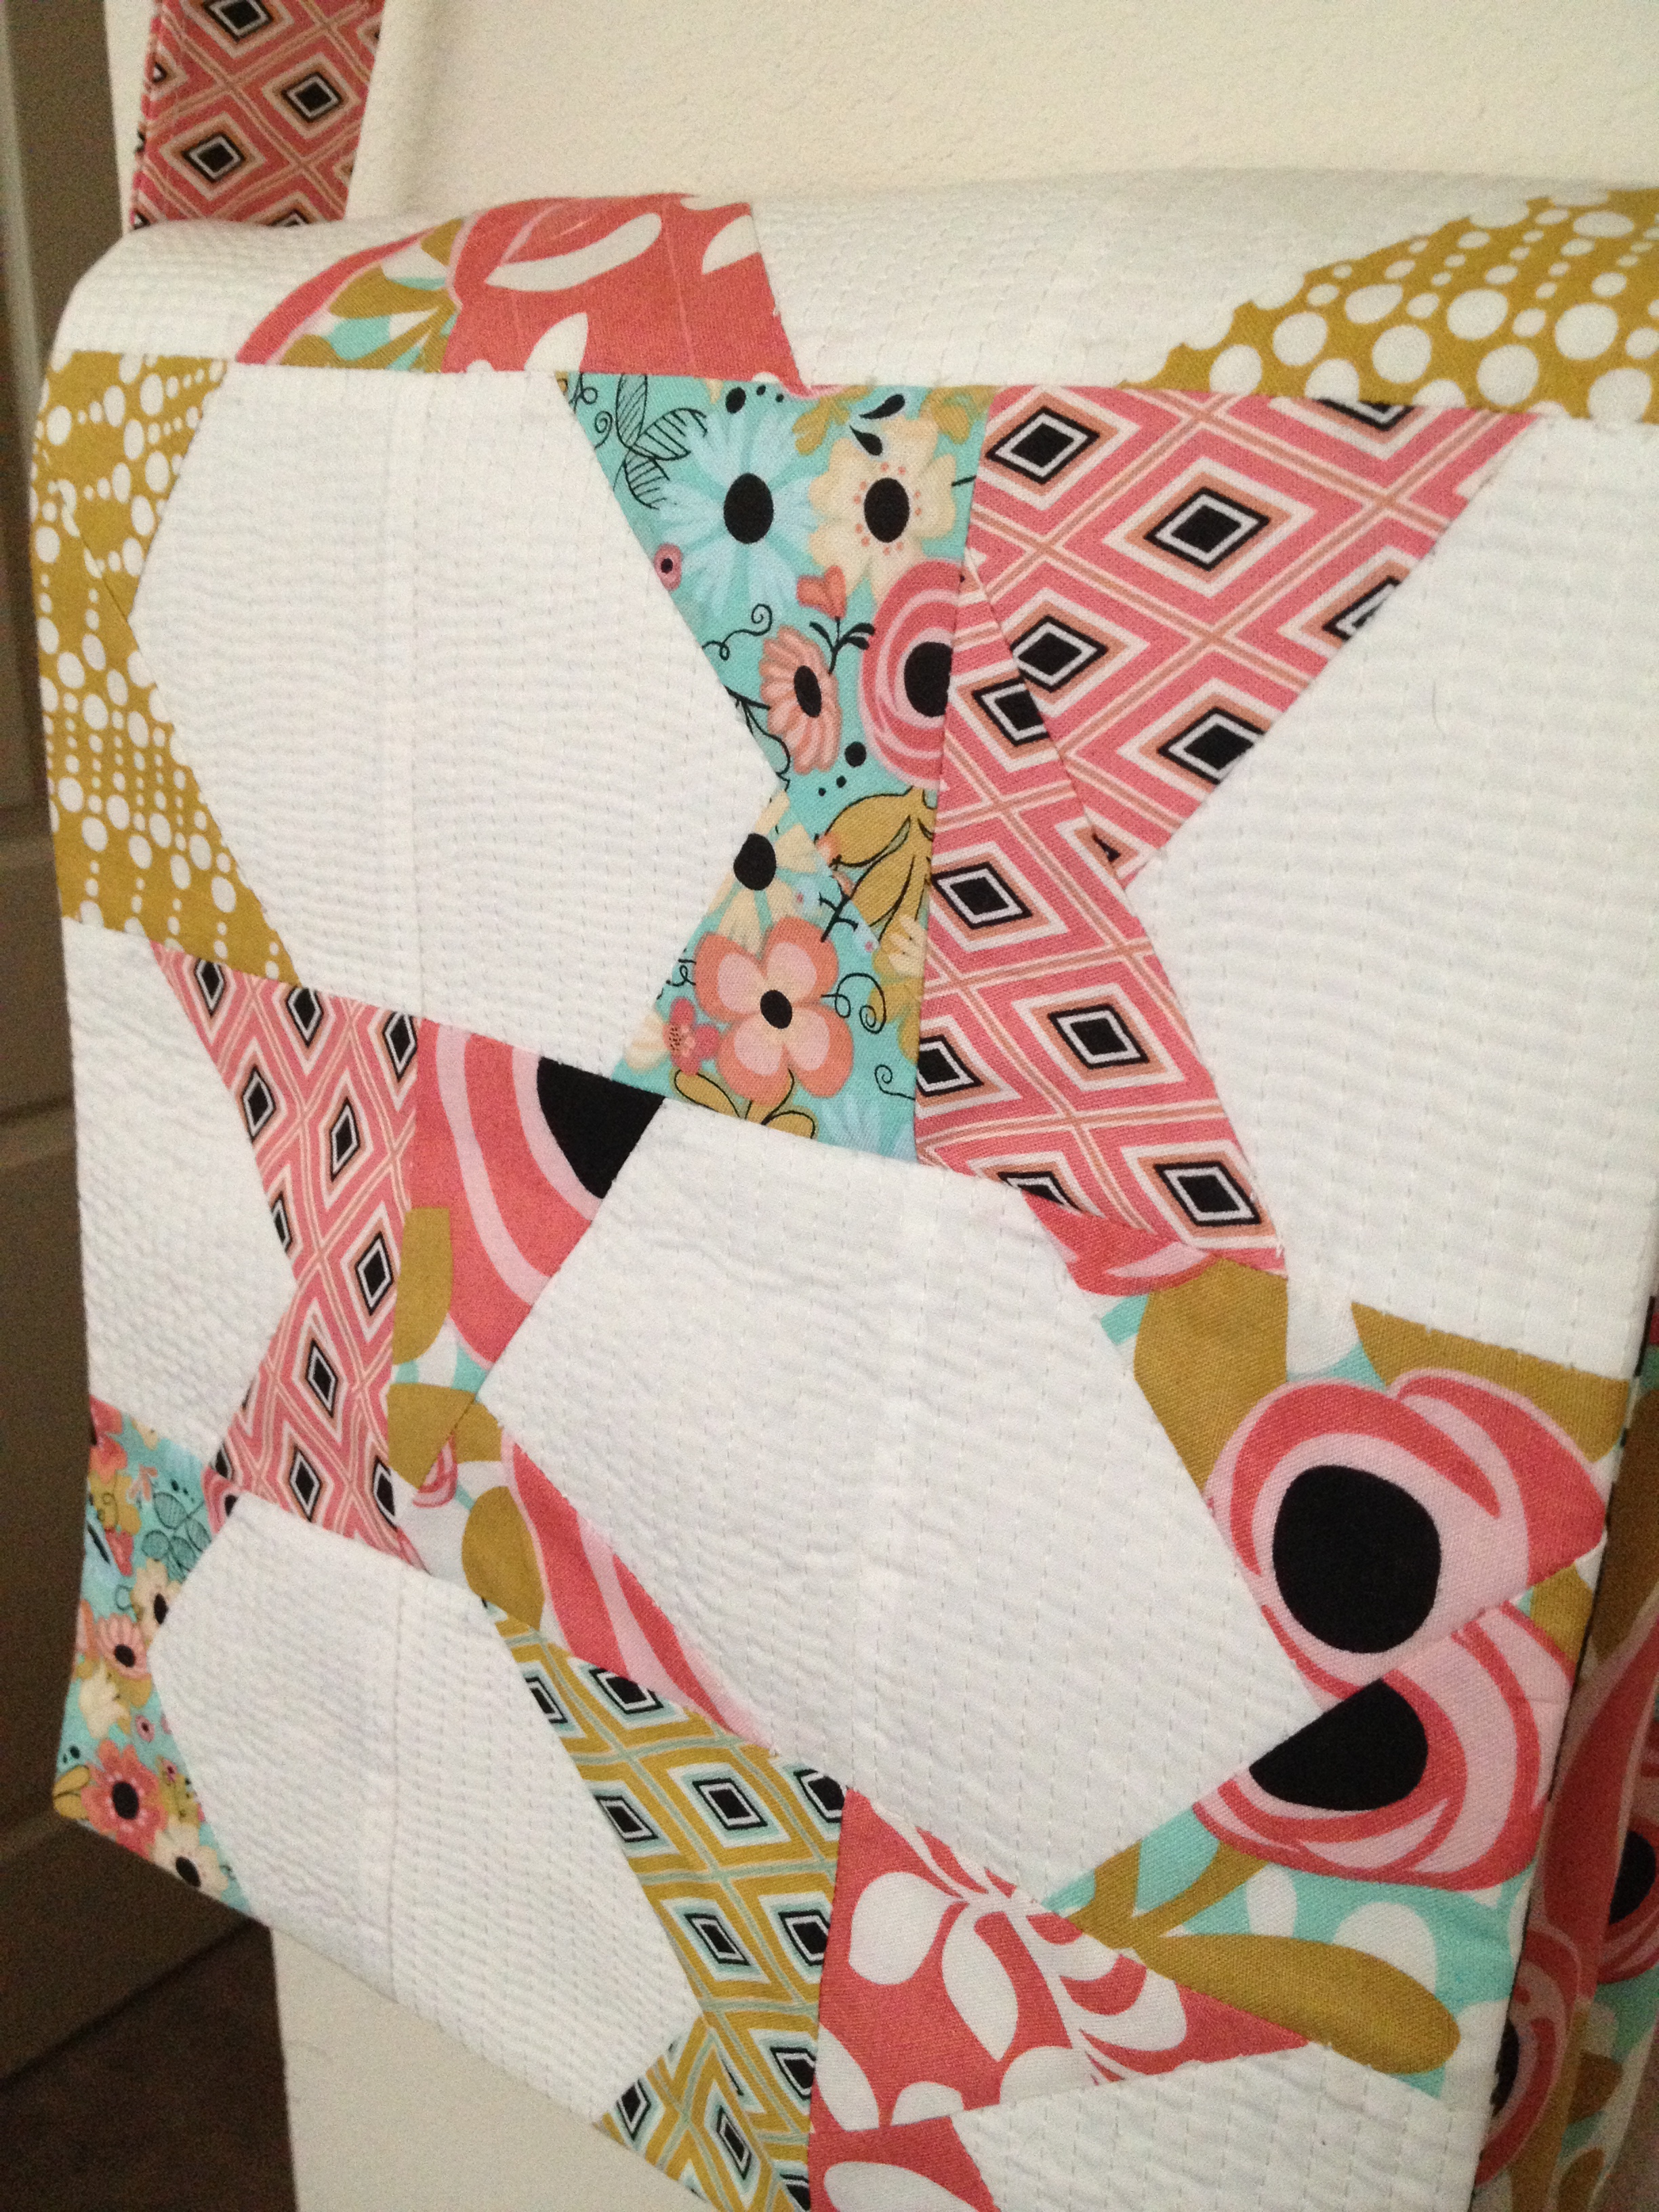
(Fabrics used were from Hello Gorgeous by Iza Pearl Designs for Windham Fabrics.)

2013-03-28 14.27.47

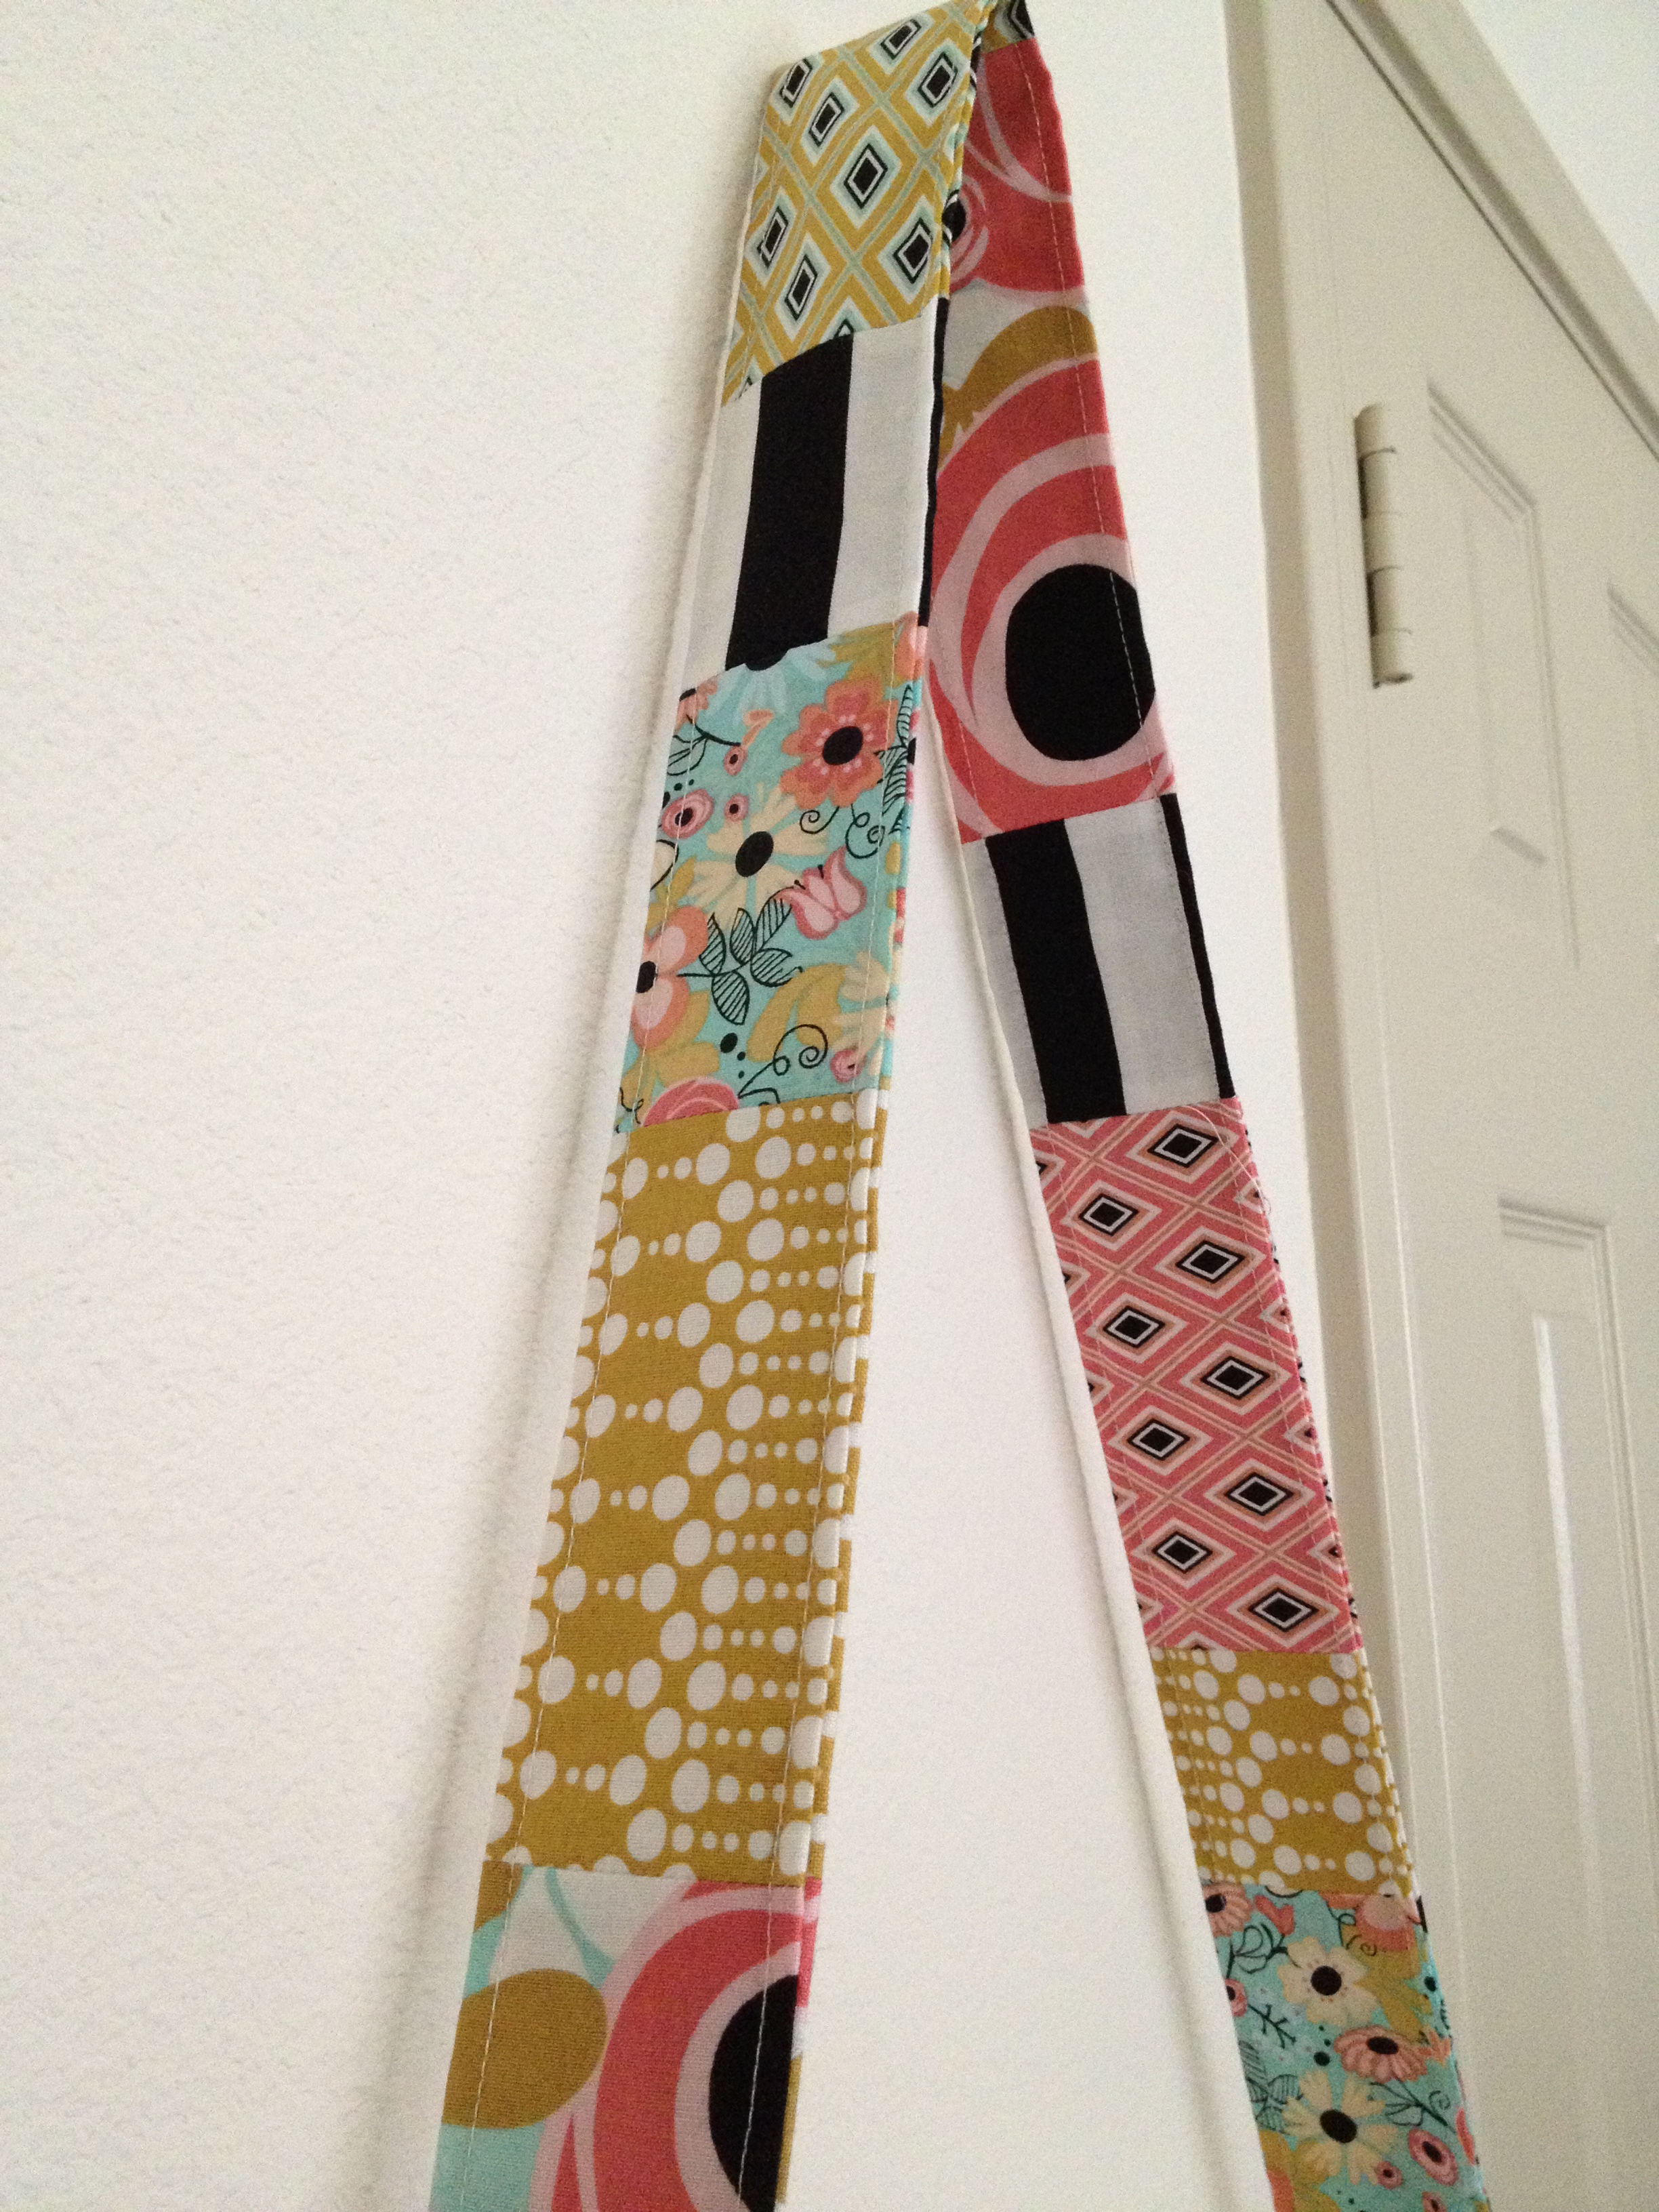
I also made the strap from scraps of fabric instead of one fabric for a slightly different look.

Happy Sewing,

Posted Under: Uncategorized

« Introducing: Petal Panache Cushion
Super Online Sewing Match Community Sponsor »

Comments

  1. A.J. Dub (Amy) says

    July 3, 2013 at 12:21 pm

    Now I am going to have to make a 3rd Zoe bag! So cute!

My name is Erin and I <3 to make stuff! Whether it’s sewing, paper crafting, home decor, or yummy food in the kitchen, this blog is my way of sharing the projects I’ve been working on!

  • Facebook
  • Pinterest
  • Twitter
  • RSS

Newsletter

Sign up for news, events and promotional information

  • About
  • Advertise
  • Ahoy Tote
  • Beach Towel
  • Blog
  • Cabana Lane
  • Cart
  • Castle Lattice
  • Check Out Success
  • Checkout
  • Chopsticks Tote
  • Contact Me
  • Events
  • Fife Tote
  • Flower Garden Quilt
  • Garden Party Hopscotch
  • Grocery Tote
  • Holiday
  • Home Decor
  • Kate Tote
  • Kitchen Fun
  • Lovestruck Quilt
  • My Account
  • Pattern Corrections
  • Patterns 101
  • Petal Panache Cushion
  • Press
  • Privacy Policy
  • Sewing
  • Sewing Machine Apron
  • Shop
  • Shop FAQ
  • Support Your Local Quilt Shop
  • Terms and Conditions
  • Tutorials
  • Wholesale Info
  • Archives
  • Project Gallery
  • Store

Content and photos © 2026 Erin Schlosser | Log in